


Are you looking to cut down on your oil change expenses? Changing your car’s oil by yourself can help you save money. Performing an oil change is a crucial aspect of vehicle maintenance, and the good news is that most individuals can tackle it at home. Read on to discover a step-by-step guide that will help you become your mechanic, all while addressing common queries along the way.
Exploring the Benefits of DIY Oil Changes
Engaging in do-it-yourself (DIY) oil changes empowers you and keeps your hard-earned money in your pocket. The process may seem intricate, but it’s quite manageable, and with our simple guidelines, you’ll be able to carry it out confidently. Let’s dive into the nitty-gritty of executing this car-care task like a pro.
Step 1: Jack It Up, Open It Up
Begin by raising your vehicle to a comfortable working height. Whether you opt for a hoist, ramps, or jack stands, prioritize your safety. Never venture under a car supported solely by a floor jack. Our experts hoisted the vehicle in our Car and Driver test garage for a clear view of the process. Note that most modern cars are equipped with an undertray made of plastic to bolster aerodynamics and safeguard critical components underneath the engine. The undertray needs removal to reach the oil pan and oil filter on models like the TSX. This is usually achieved using a mix of bolts, screws, and plastic clips that can be managed with basic hand tools. As you prepare for the next step, scrutinize the area for any signs of oil leaks. If you discover any, assessing your vehicle with a professional mechanic is wise.
Step 2: Draining the Old Oil
Position your chosen oil receptacle—whether it’s a five-gallon bucket, an oil drain pan from an auto-parts store, or another container capable of holding liquids—so that the draining oil is directed into it without causing any spills or mess. Remember that the volume of oil can be substantial, with most vehicles containing at least a gallon in their crankcase. Use the appropriate wrench to loosen the drain plug (counterclockwise) and allow the oil to flow into your receptacle. While removing the drain plug, make sure to hold onto it, as the oil will start flowing once you pull it away from the oil pan. Allow the engine to drain for roughly five minutes or until the oil flow slows down to a trickle.
Step 3: Replacing the Old Filter
Identify the oil filter; it’s the cylindrical component attached to the engine, although some engines come with housing where you insert a filter cartridge. Loosen the oil filter using your hand or an oil filter wrench (you may need the latter). Loosening it counterclockwise will cause the oil to start flowing from the top and dripping into your container. Wait until the flow subsides, then remove the filter entirely. Before installing the new filter, ensure that the old oil filter gasket—a thin rubber O-ring—wasn’t left behind. Neglecting this step can result in an improper seal, leading to oil leakage and potential engine damage. As you prepare to replace the oil filter and drain plug, wiping down any surfaces covered in oil is a good practice.
Step 4: Sealing and Tightening
Reattach the drain plug and tighten it until it’s snug, avoiding overtightening that could harm the oil pan and drain plug. Put in the effort to secure it without using excessive strength. Some manufacturers provide a torque specification to follow, and if applicable, you can use a torque wrench. Avoid trying to forcefully remove the drain plug, as certain vehicles use a washer behind it that may require replacement upon reinstallation. For guidance, refer to your owner’s manual. With the drain plug secured, apply a light coat of oil around the rubber gasket on the top with your new oil filter. This aids in achieving a proper seal as you tighten the filter. When installing the filter, tighten it until it’s “hand tight,” and add more until it’s snug.
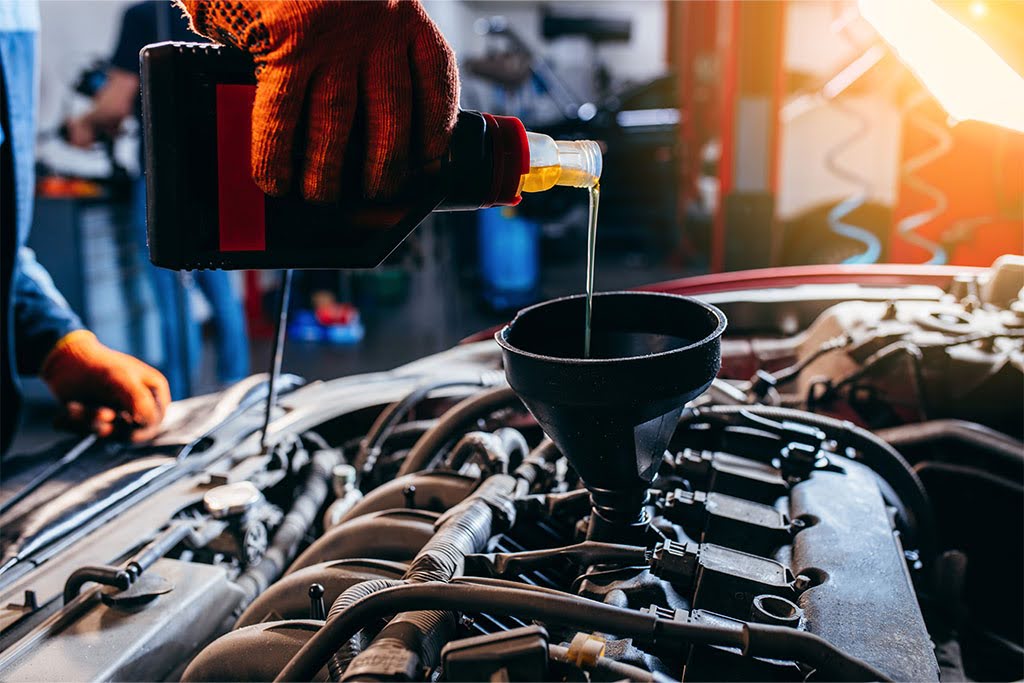
Step 5: Refill with Fresh Oil
After replacing the oil filter and drain plug, restore the undertray and lower the car to the ground. Pop open the hood and locate the oil cap, often bearing an oil-can symbol. Using a funnel, fill the engine with the recommended quantity of oil specified by the manufacturer.
Step 6: Checking and Ensuring No Leaks
After giving the oil a few minutes to settle into the pan, utilize the dipstick to verify that the oil level is correct. The dipstick process is straightforward: Extract the dipstick from its tube, wipe off any oil residue with a paper towel, reinsert the dipstick, withdraw it again, and ensure that the oil aligns with the full marking on the dipstick’s tip. Following this, start the engine and let it idle and warm up. While it’s running, inspect for any leaks beneath the vehicle and around the oil filter.
Conclusion
You’ve successfully carried out your oil change and pocketed some savings along the way. The accomplishment is undeniably satisfying and contributes to the well-being of your vehicle. Remember that routine oil changes are pivotal for maintaining your car’s engine performance. Regular oil changes safeguard the engine from heat and friction and enhance fuel efficiency, minimize emissions, and yield long-term financial benefits.
In conclusion, embrace the empowerment that comes with DIY car maintenance and the significant savings it brings. By engaging in timely oil changes, you’re ensuring your vehicle’s engine’s longevity and optimal functioning. So, why not take charge and show your car some love by keeping its heart—the engine—running smoothly and efficiently?