


Learn how to replace a broken tail light yourself, step by step. It’s easier than you think and could save you a trip to the mechanic.
It could seem best to leave a broken tail light to the experts, especially on the recent versions whose designs make it more difficult to locate the screws. That being said, changing a damaged tail light is a simple DIY project.
Before You Start
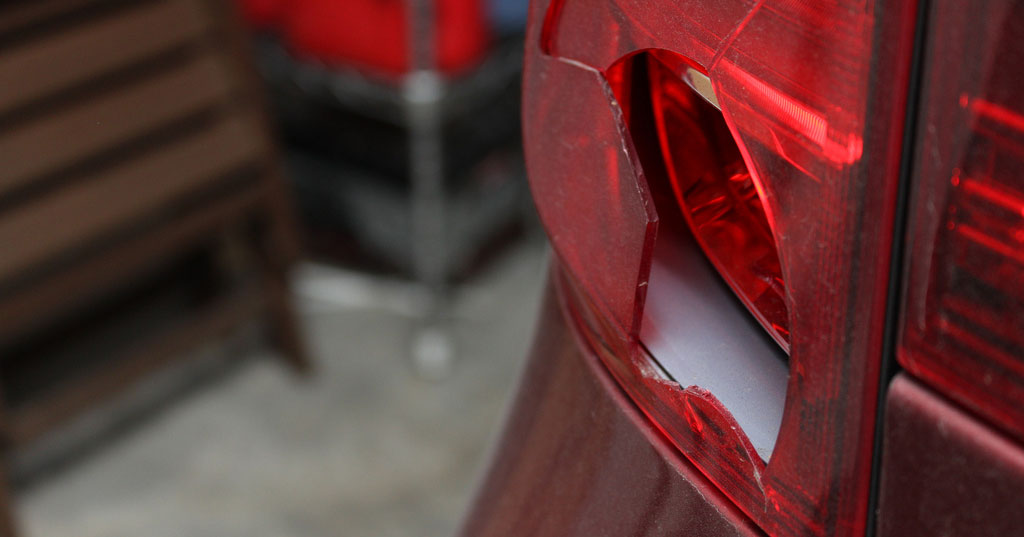
Imagine you’re driving, and you realize your tail light is out. You might be tempted to rush to the mechanic, but don’t be too hasty. You can save time and money by replacing a broken tail light yourself. No, you don’t need to be a car expert. You only need basic tools – a socket wrench, screwdriver, and a crowbar – and a little patience.
If you’re wondering, you can do this in your driveway or garage. But if you’re on the road, find a safe spot. Safety first – use the emergency brake on inclines and set up road flares at night.
Remember, a little force is needed during the process, but not too much to avoid damaging anything. Let’s dive into the details.
What Tools Do You Need?
The tools you need can vary depending on your car model, but generally, you’ll need:
- Screwdrivers: These are your trusty companions for most car DIY jobs.
- Ratchet, Appropriate Size Sockets, and Wrenches: The sizes may differ, so check your car’s manual.
- Safety Glasses: Safety first, remember?
Step 1: Turn off the Vehicle
Before doing anything, ensure your car is turned off. This is crucial to avoid unwanted surprises and, more importantly, electric shocks. Safety is paramount.
Step 2: Remove the Fasteners
Now, this is where it gets interesting. In older cars, you might find screws on the outside of the vehicle, which are relatively easy to spot and access. But newer models often hide the screws in the trunk area. Don’t worry; they’re just playing hard to get.
Depending on your fastener type, you’ll need either a wrench or a screwdriver. Get ready to unleash your inner mechanic.
Step 3: Twist out the Bulb Socket
With the fasteners gone, it’s time to set the tail light free. Twist out the bulb socket with a simple quarter-turn counterclockwise. This should release the tail light assembly. It’s like magic but without the rabbit.
Step 4: Separate the Tail Light
Now comes the satisfying part. You might need some muscle for this step. Grab the tail light assembly and gently pull. Sometimes, you might need both hands or a crowbar on stubborn models. Remember, patience is key.
Step 5: Remove the Old Lens
The old lens is like a loyal friend, but it’s time to say goodbye. Check for screws or thumb nuts holding it in place, and unscrew them. The old lens should come off without much fuss.
Step 6: Insert the New Lens
It’s a moment of transformation. Insert the new lens, just like you took off the old one. Secure it in place with the same fasteners that held the old lens. Make sure it’s snug.
Step 7: Reinstall the Tail Light
Time to put things back together. Twist the bulb socket clockwise until it locks into place. Secure the tail light assembly with any screws or fasteners you removed earlier. It’s like solving a puzzle – the satisfaction of pieces coming together.
Step 8: Test the Tail Light
The final and most critical step. Before you hit the road, test your tail light to ensure it’s working as it should. You wouldn’t want all that effort to go to waste, right?
Conclusion
Replacing a broken tail light might sound daunting, but with the right tools and a little patience, it’s a job you can handle yourself. Not only will you save money on mechanic fees, but you’ll also gain a sense of accomplishment. Remember, safety first, and don’t hesitate to try it.
Frequently Asked Questions
1. Can I replace the tail light on any car model?
- While the process is generally similar, the steps might vary depending on your car’s make and model. It’s a good idea to consult your car’s manual for model-specific instructions.
2. Do I need any special skills to replace a tail light?
- No special skills are required. If you can handle basic tools and follow instructions, you can replace a tail light. It’s a great DIY project for beginners.
3. Can I use any replacement lens for my tail light?
- Replacement lenses are designed to be compatible with specific tail light models. Choose one that matches your car’s make and model to ensure a proper fit.
4. How do I know if my tail light is broken?
- If your tail light is not working, it’s a clear sign it needs replacement. You can also inspect the lens for cracks or damage, affecting its performance.
5. Can I drive with a broken tail light?
- While it might not be illegal in some areas, driving with a broken tail light is unsafe and can lead to accidents. It’s best to replace it as soon as possible for your safety and the safety of others on the road.