


When you’re getting ready to can, the first thing you need to get a handle on is the right way to do it and the gear you’ll need. It’s not like it used to be; canning methods have gotten a lot safer over the years, thanks to research. You really want to stick to what the USDA, or your local extension office, says is current.
They’ve got the latest info, and it’s important for keeping your food safe.
Follow USDA-Approved Modern Canning Methods
Think about your grandma’s canning recipes. They might be great, but are the methods up-to-date? Canning science has come a long way. Using old techniques with new foods, or even just old techniques without checking, can be risky.
The U.S. Department of Agriculture puts out a guide, and your state’s extension service usually has one too. These guides are your best bet for making sure you’re using safe, tested methods. It’s really about preventing things like botulism, which can happen if low-acid foods aren’t processed correctly. You don’t want to guess when it comes to food safety.
Use The Correct Canner For Your Food
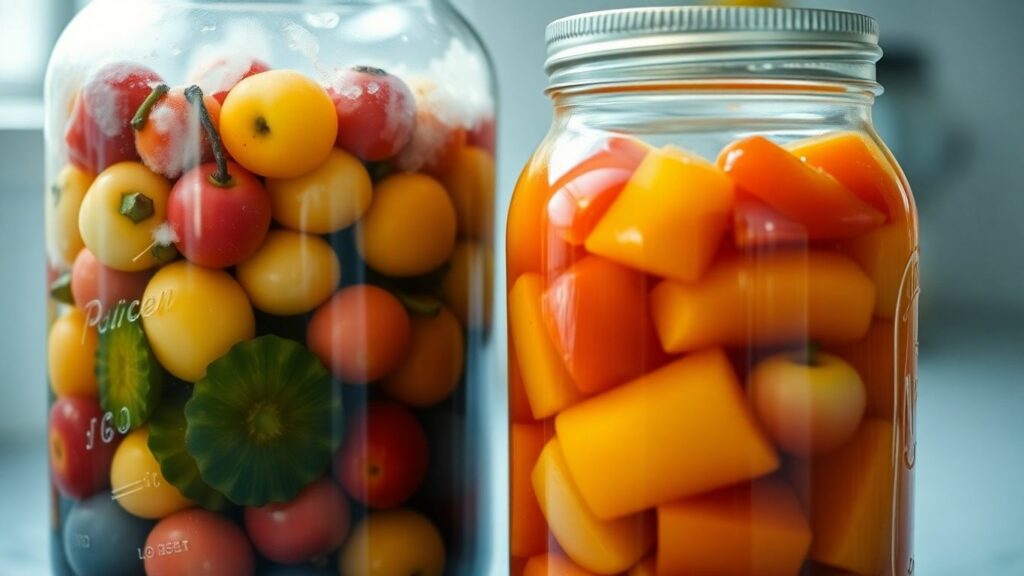
This is a big one. Not all foods are the same when it comes to canning, and you need the right equipment for the job. Foods are generally split into two groups: high-acid and low-acid. High-acid foods, like most fruits, jams, and pickles, can usually be done in a boiling water canner. This method just boils the jars. But low-acid foods – think vegetables, meats, and poultry – need a different approach.
These foods don’t have enough natural acid to stop certain bacteria, like the one that causes botulism, from growing. To kill those nasty spores, you need a pressure canner. This machine gets the jars much hotter than boiling water can, and that extra heat is what makes the difference.
Even tomatoes, which seem acidic, can be borderline, so recipes often call for adding a bit of lemon juice or citric acid if you’re using a water bath canner. If you’re canning a mix, like a vegetable soup or a meat sauce, it’s automatically considered low-acid and needs that pressure canner.
Make sure your pressure canner is a good size, at least big enough for four quart jars, and check that it’s UL approved. Also, give it a good once-over: are the openings clean? If it has a rubber gasket, is it still soft and flexible, not dried out or sticky?
These details matter for a good seal and safe processing. And don’t forget to check the instructions for altitude adjustments, as that can affect how your canner works.
Ensuring Food Safety During The Canning Process
When you’re canning at home, keeping things clean and following tested recipes are super important. It’s not like making a regular meal where you can sometimes wing it.
With canning, especially when you’re thinking about preventing botulism canning, you really need to stick to the rules. These home preserving guidelines are there for a reason, and they help make sure your food stays safe.
Maintain Cleanliness Throughout Canning
Think of cleanliness as your first line of defense. You want to wash your hands really well with soap and warm water for at least 20 seconds before you even start.
Same goes for your workspace and any tools you’re using. Wipe down counters, use clean cutting boards (maybe even have separate ones for produce and raw meats), and change out dishcloths often. Sponges can be tricky because they hold onto germs, so paper towels or clean cloths are usually better.
It’s a good idea to sanitize surfaces and utensils before and after you prep food. Just a quick wipe with a sanitizing solution or a bleach mix (like 5 ml of bleach to 750 ml of water) and a rinse can make a big difference. Keep cleaning up as you go, too. It stops germs from jumping from one thing to another.
Adhere To Tested Recipes And Ingredient Guidelines
This is where canning recipe safety really comes into play. You can’t just grab any old recipe you find online or from grandma’s recipe box unless you know it’s been updated for modern safe canning practices. The U.S. Department of Agriculture (USDA) has tested methods, and so have many university extension services. These are the sources you want to trust.
Here’s the deal with recipes:
- Don’t change processing times or pressure levels. Seriously, don’t. Messing with these can mean that nasty botulism bacteria might survive.
- Use the right canner for your food. High-acid foods like most fruits can usually be done in a boiling water canner. But low-acid foods, like most vegetables, meats, and poultry, need a pressure canner. This is because a pressure canner gets hotter than boiling water, which is what you need to kill botulism spores.
- Add acid when needed. Tomatoes can be tricky. Some are acidic enough, but others aren’t. If a recipe calls for adding lemon juice or vinegar to tomatoes, do it. It helps keep the acidity level up for safe water bath canning.
- Be careful with substitutions. While you can often swap out seasonings or adjust salt and sugar amounts (salt and sugar don’t really act as preservatives in canning, mostly for flavor), don’t swap out the acid or change the main ingredients in a way that alters the recipe’s acidity or density. Adding extra vegetables to a recipe, for example, might make it unsafe if it lowers the overall acidity too much.
- Never invent your own canning recipes. If you want to experiment, do it with regular cooking, not canning. Stick to tested recipes to avoid problems.
Proper Storage And Seal Verification
So, you’ve gone through all the effort of canning, and your jars look beautiful. Now comes the part where you make sure all that hard work is going to last and stay safe. It’s all about checking those seals and then putting your jars away right.
Check Jar Seals for Integrity
How do you know if your jar actually sealed properly? It’s pretty simple, really. After the jars have cooled completely, usually overnight, you can check the lid.
The center of the lid should be pulled down, kind of concave. You can also try gently pressing on the lid. If it doesn’t flex or “pop” up and down, that’s a good sign it’s sealed. Another test is to try and lift the jar by the lid’s edge. If the lid stays put and doesn’t budge, you’ve got a good seal.
If a jar didn’t seal, don’t try to force it. You can either reprocess it within 24 hours with a new lid, or just put it in the fridge and use it up quickly. It’s better to be safe than sorry.
Store Canned Goods Correctly
Once you’re sure your jars are sealed, it’s time to think about where they’ll live until you’re ready to eat them. Proper storage is key to keeping your food safe and good for a long time.
- Label and Date: Always label each jar with what’s inside and the date you canned it. This helps you keep track of what you have and use the oldest items first.
- Cool, Dry Place: Find a spot that’s consistently cool and dry. Think a basement, a pantry, or a cupboard away from heat sources like stoves or direct sunlight. Temperatures between 50-70°F (10-21°C) are ideal.
- No Rims, No Stacking: This is a big one. Always remove the screw bands (rims) before storing. If a seal were to fail later on due to spoilage, the gas buildup could cause the lid to pop off, and you’d see it. If you leave the bands on, a faulty seal might reseal itself, hiding the spoilage. Also, avoid stacking jars. Stacking can put pressure on the lids, potentially breaking a good seal or, worse, forcing a bad seal to look good.
- Use Within a Year: For the best quality, try to use your home-canned goods within about a year. The food will still be safe after that, but the quality, like color and texture, might start to decline.
Frequently Asked Questions
What are the safest ways to can food at home?
To keep your food safe, always use methods approved by the USDA. This means using the right equipment, like a pressure canner for low-acid foods (like most vegetables and meats) and a boiling water canner for high-acid foods (like fruits and pickles).
Never try to can using a slow cooker, microwave, oven, or by simply inverting jars. Stick to tested recipes and don’t try to invent your own!
Can I change recipes when I’m canning?
You can make some small changes, but you have to be careful. You can usually adjust salt, seasonings, and sugar without making the food unsafe. However, you should never change the processing time or pressure, and if a recipe calls for added acid like lemon juice or vinegar for safety, you can’t leave it out or reduce it. Always follow the recipe’s guidelines closely.
How do I know if my jars sealed properly?
After your jars have cooled, check the lids. The center of the lid should be pulled down and shouldn’t flex when you press it. A good way to test this is to gently try to lift the lid with your fingertips. If it doesn’t budge, the seal is good! It’s also a good idea to remove the metal rings before storing your jars, as this helps you spot a broken seal more easily.