


Have you ever had those delicious bean cakes and wondered how to make them yourself? Well, look no further. This recipe will show you how to make perfect akara, those crispy fritters made from black-eyed peas that are popular all over West Africa.
Akara, also known as bean cake, is a staple snack in Nigeria, where I grew up. Trust me, your family and friends will be begging you to make this Akara recipe over and over again. Read on to learn about the recipe and how to make the perfect Bean Cake.
What Is Bean Cake (Akara)?


Bean cake, also known as Akara, is a delicious West African snack made from mashed black-eyed peas seasoned with onions, chili peppers, and spices. The beans are ground into a coarse paste and then fried in oil until crispy.
Akara has an irresistible aroma and a mildly spicy, savory flavor. Each crunchy morsel bursts with the tastes of chili, onion, and mashed beans. Nutritionally, akara is packed with protein, fiber, and various minerals like iron, zinc and magnesium.
Akara is usually eaten for breakfast or as a snack, but can also be served as a side to a main dish. The crunchy, spicy bean cakes pair well with bread, ogi (a cornmeal porridge), fried yam, etc. Other names for this tasty treat include Acaraje, bean fritters, or black-eyed peas fritters. No matter what you call it, akara is a cherished staple in Nigerian cuisine.
The History and Origins of Bean Cake
Bean cakes, also known as Akara, have been around for centuries in West Africa. The earliest known recipes date back to the 1400s. Akara is a staple street food in Nigeria, made from mashed black-eyed peas or cowpeas and fried in oil.
Akàrà, also known as bean cake in English, Kosai in Hausa, and acarajé in Portuguese, is a sort of fritter that originated from the Yorubaland in Nigeria. It can be found in West African, Caribbean, and Brazilian cuisines. The dish is also commonly found in Brazil’s northeastern state of Bahia, particularly in the city of Salvador. Acarajé is both a religious tribute to the gods and a street dish in the Candomblé religion.
Akara spread from Nigeria to other West African countries like Ghana, Benin, Togo, and Cameroon. Similar bean fritters can also be found in the Caribbean, Brazil, and other places where West Africans were taken during the transatlantic slave trade.
How To Make Beans Cake (Akara)

To make delicious bean cakes, follow these simple steps:
Bean Cake Recipe
- Nigerian beans or Black-eyed peas (2 cups)
- Onion (1 medium, chopped)
- Scotch bonnet/red chili pepper (1 small, seeded and minced)
- Bell Pepper (Optional)
- Vegetable oil
- Seasoning Cube (Optional)
- Salt
Instructions:
- Soak the black-eyed peas in water for 4-12 hours. Drain and peel off the skins. The easiest way to peel the beans is by using a blender. You can also use your hands by rubbing the beans between your palms if the quantity is not much.
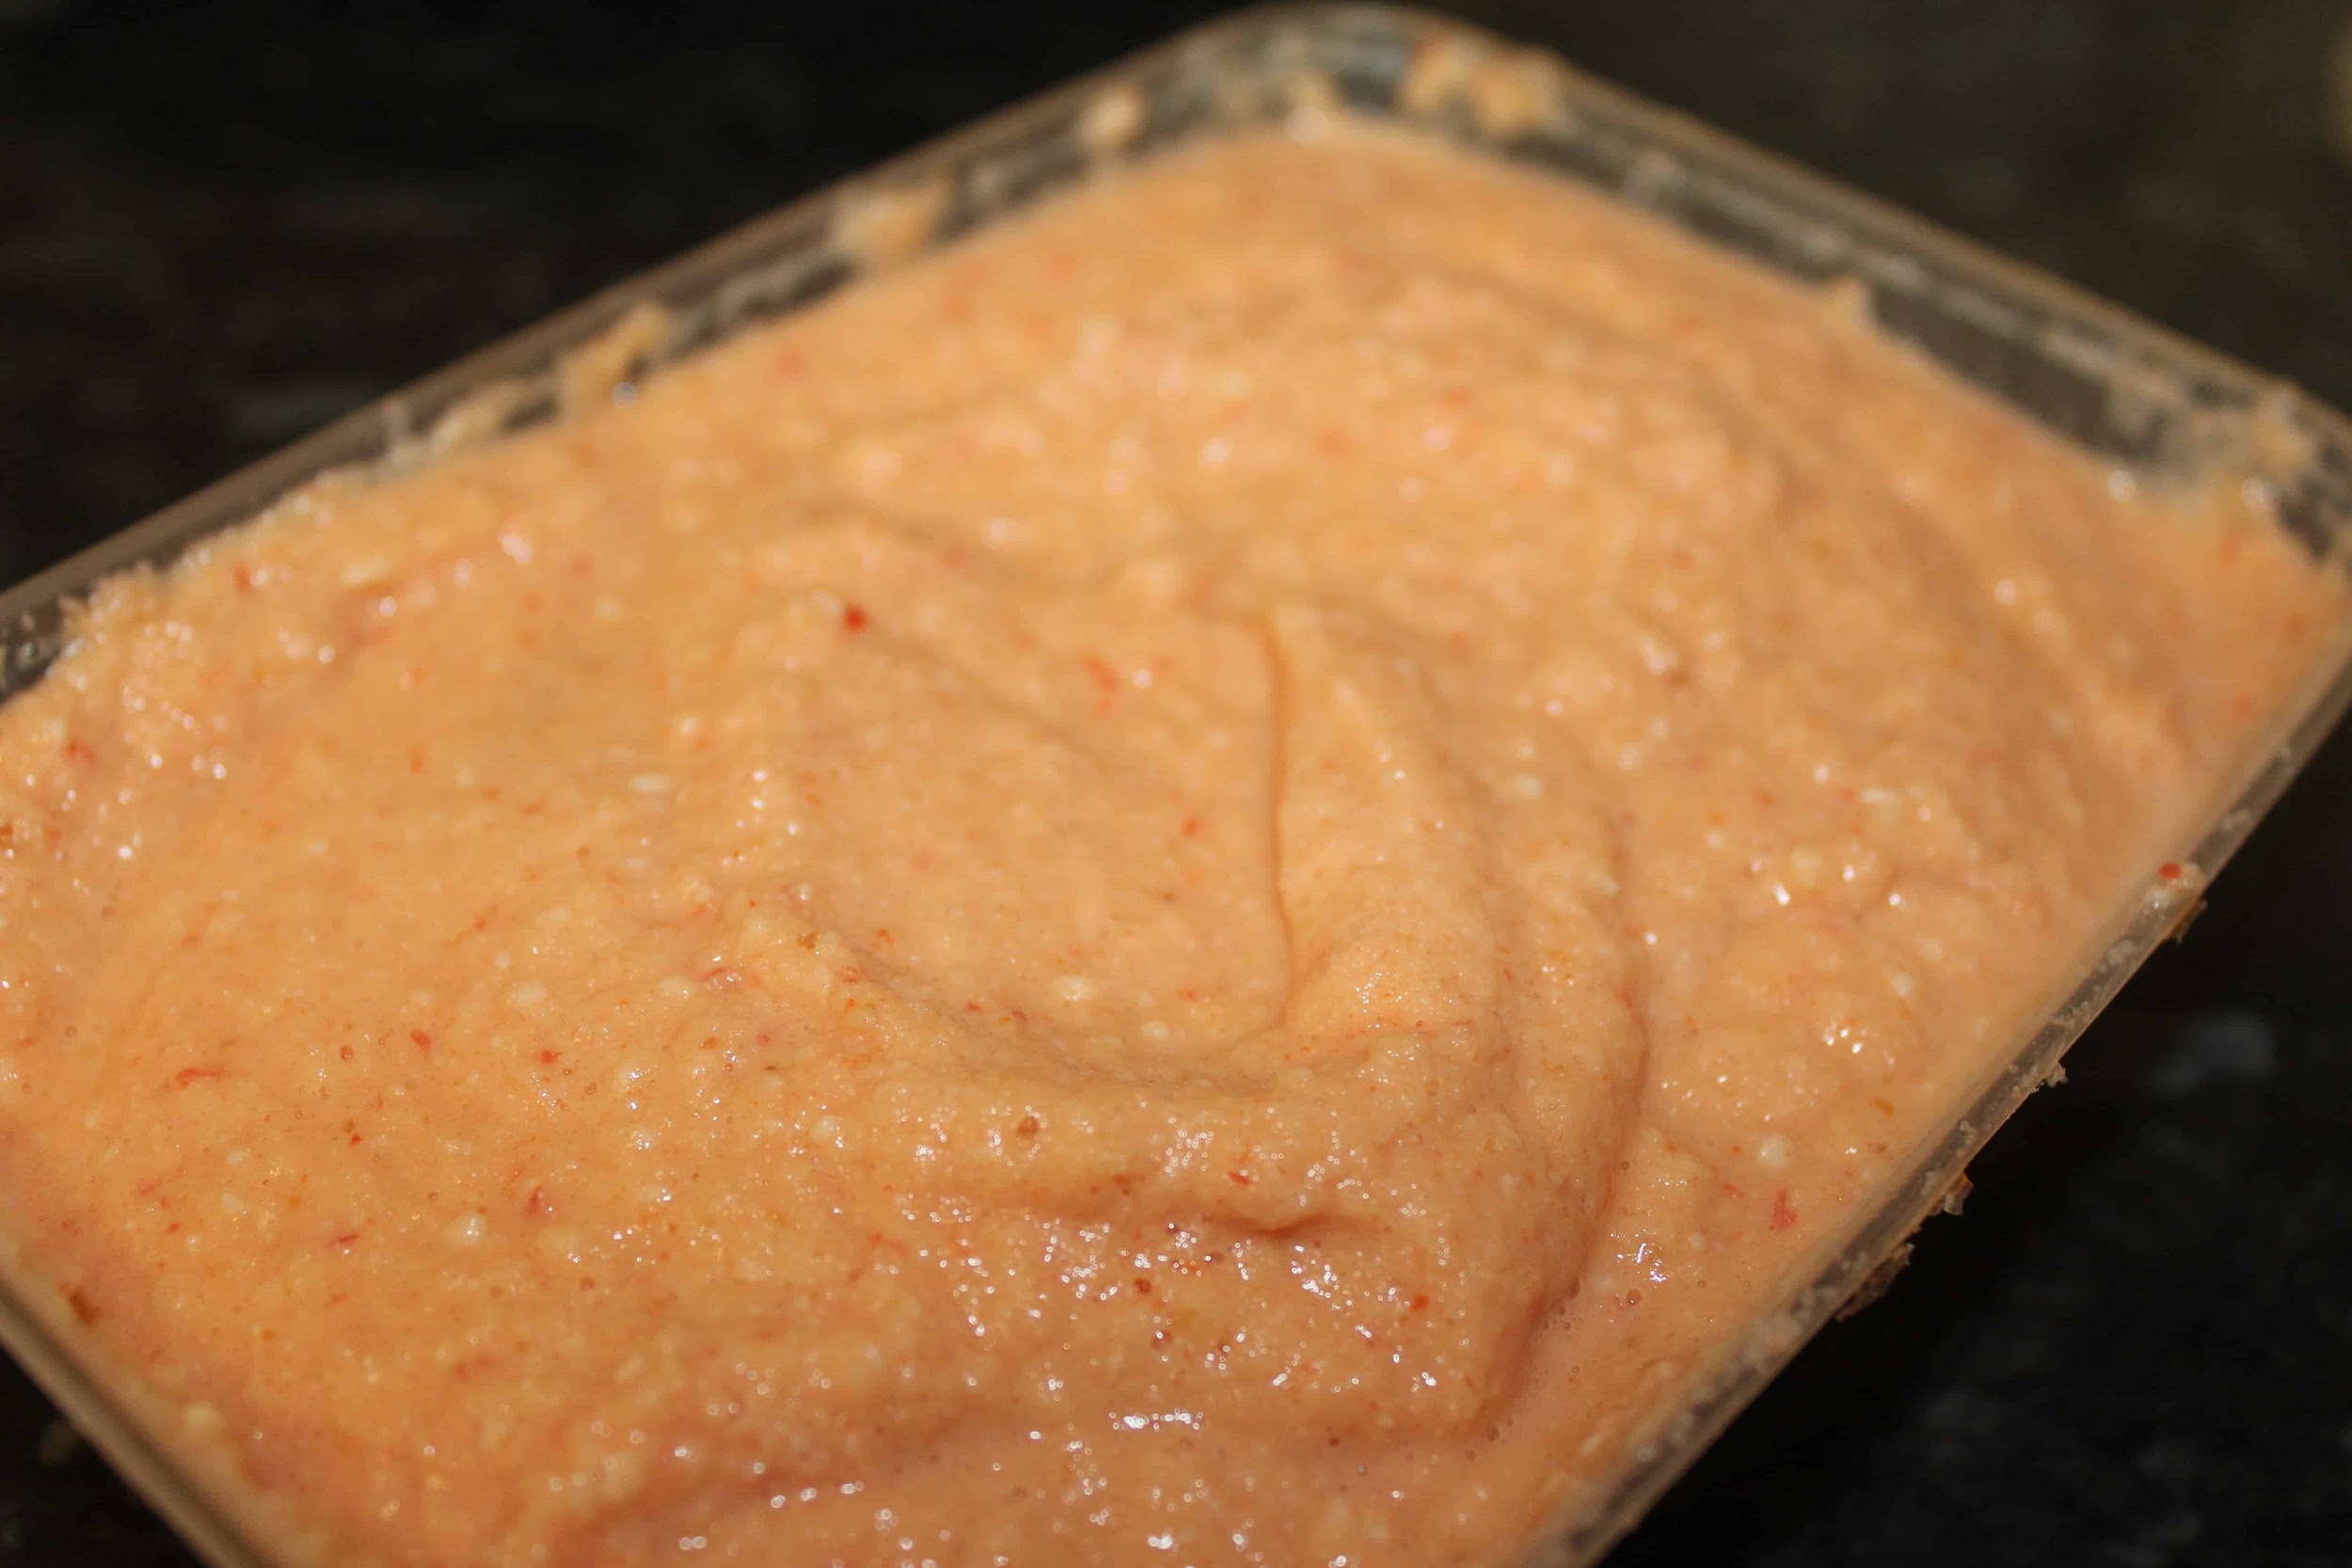
- Blend the peeled beans with the scotch bonnet, bell pepper, and onion. It’s essential that you do not add too much water to the beans or beans paste, as what you need is a thick paste to make the perfect akara.
- Pour the blended beans into a bowl, add Seasoning cube (Optional) and salt to taste, then mix thoroughly. If you want the inside of your akara to be fluffy, use a mixer, then whip for about 10 minutes.
- Pour the vegetable oil or palm oil into a frying pan and light your gas. Ensure you have enough oil in the frying pan to deep fry.
- When the oil is heated, start scooping in the bean paste. For this, you can use a cooking spoon, which is just slightly bigger than a tablespoon. To know if your oil is heated enough, drop a tiny bit of the paste in the oil. If it floats to the top, then the oil is ready.
- Fry for about 3-5 minutes on both sides; when a side of the Bean Cake is done, flip to the other side. Fry both sides till it’s golden brown, then remove from oil and put on a paper towel to get rid of excess oil.

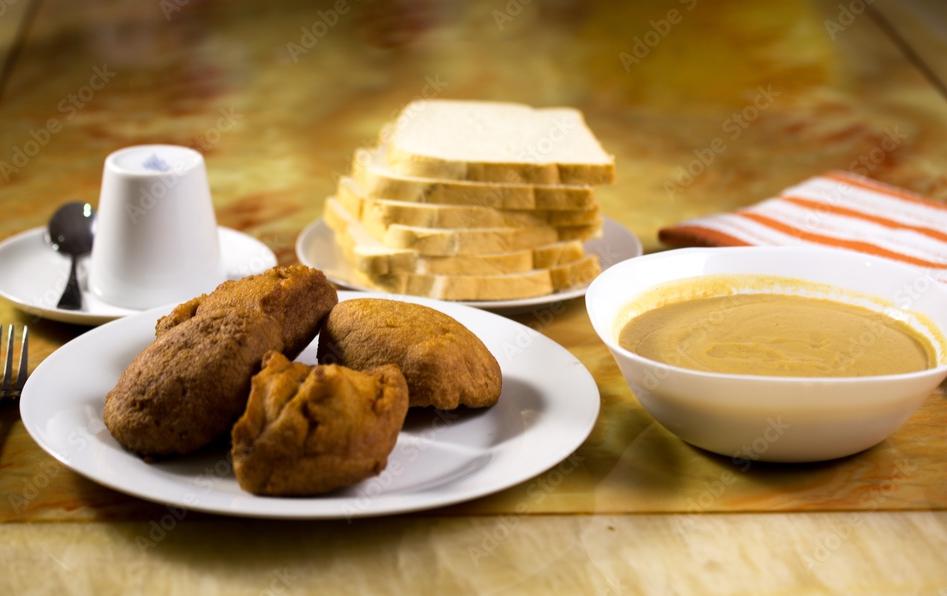
You can serve it with pap (ogi), bread, fried yam, potatoes, or custard. Keep a close eye on them as they cook quickly. Making bean cakes is a simple process, but following these essential steps will ensure you have a delicious snack in no time!
Tips on Making the Perfect Bean Cake
To make the perfect bean cake, follow these tips:
Soak peeled beans
Soak peeled beans in water for up to 6 hours before blending. This makes blending easier, plus it gives fluffier akara.
Ensure to blend with little water
Blend with a little water; if using a blender, put onion and peppers at the bottom of the blender before adding beans. That way, they blend first and provide more juice for the beans to blend in without the use of excess water. If you want it to be fluffy inside, mix the bean paste with a hand or stand mixer till it’s light and fluffy before frying.
Use fresh beans
Only use fresh beans to get the best results. Old or stale beans won’t produce light and fluffy bean cakes. Choose black-eyed peas, cowpeas, or white beans. Soak the beans overnight or for at least 5-6 hours before blending into a paste. Drain and rinse the beans thoroughly after soaking.
Use neutral-flavored oil
Fry the bean cakes in an oil with a high smoke point and neutral flavor like canola, peanut, or vegetable oil. This allows the natural flavor of the beans to shine through. Avoid olive oil, which will impart its own strong flavor.
Season the paste
Add salt, pepper, chopped onions, and spices like chili peppers to taste to season the bean paste. Mix in the seasonings thoroughly before frying the cakes.
Do not overmix
Only mix the bean paste enough to combine the ingredients. Overmixing can make the cakes dense. Mix just until the ingredients are evenly distributed.
Fry in batches
Do not overcrowd the pan when frying the bean cakes. Fry them in batches to allow for even cooking and browning. Flip the cakes only once or twice.
Drain on paper towels
After frying, drain the bean cakes on paper towels to absorb excess oil. This will make them less greasy. Serve warm.
How To Store Akara
To keep your akara fresh for up to 1 week, proper storage is key.
As soon as Akara cools after frying, transfer to an airtight container or ziplock bag and refrigerate. This will keep Akara crisp for 3 to 5 days. Let akara come to room temperature before eating, as the crispness is best when akara is not cold.
For longer-term storage up to 1 week, freeze the akara. Spread in a single layer on a baking sheet and freeze until firm, about 2 hours. Transfer to an airtight container or ziplock freezer bag. When ready to eat, reheat akara in a preheated 400 F oven for about 10 minutes, stirring occasionally, until heated through.
Alternatively, you can reconstitute frozen akara by thawing it in the refrigerator overnight. Spread on a paper towel-lined plate as it thaws since some oil may release. Reheat in a skillet over medium-low heat, stirring frequently, until heated through. When reheating, ensure Akara reaches an internal temperature of at least 165 F to kill any bacteria before eating.
Following these storage tips will allow you to enjoy fresh, crispy akara for up to 1 week after frying. Your Akara will stay light and not become soggy, maintaining the perfect crunch you worked so hard to achieve!
Why Is My Akara Flat?
Your Akara could end up flat for a few reasons.
Overmixing the batter
Mixing the batter too vigorously or for too long can cause the batter to become too thin, leading to flat akara. Gently fold the ingredients together with a spatula until just combined. Be careful not to overmix.
Adding Too Much water
Adding Too Much water to your bean paste can cause it not to mold, become flat, and soak in oil. Ensure you only add a small quantity of water.
Frying at the wrong temperature
Frying the akara at too low of a temperature won’t allow them to puff up, resulting in flat disks. On the other hand, frying at too high of a heat can burn the outside before the inside has a chance to cook through. Fry akara in oil heated to 350-375 F for best results.
Not dropping spoonfuls carefully
Dropping blobs of batter haphazardly into the oil can cause the akara to spread out instead of maintaining a rounded shape. Gently drop spoonfuls of batter into the oil one at a time, allowing each akara to hold its shape before adding the next spoonful.
With some practice, you’ll be turning out light and fluffy akara in no time. Be careful not to overmix the batter, fry at the proper temperature, and carefully drop spoonfuls of batter into the hot oil. Your patience will be rewarded with puffy, golden brown bean cakes.
Frequently Asked Questions about Bean Cake
Here are some commonly asked questions about Bean Cake and answers.
What is bean cake made of?
Bean cake, also known as akara, is made from peeled black-eyed peas (cowpeas) that have been ground into a paste. The paste is then fried in oil, usually palm oil or vegetable oil.
Is bean cake healthy?
Bean cake can be part of a healthy diet. Black-eyed peas are high in protein, fiber, and various vitamins and minerals. However, bean cake is usually fried in oil, so it also contains a high amount of fat and calories. Eating in moderation is key.
What does bean cake taste like?
Bean cake has an earthy, nutty flavor from the black-eyed peas. It tastes crisp on the outside from frying, while the inside remains soft and doughy. The spices added during preparation provide aroma and extra flavor. Bean cake is usually mildly spicy, but the heat level can vary based on the type and amount of chili peppers used.
Conclusion
So there you have it, a step-by-step guide to making delicious bean cakes. Treat yourself and your loved ones to this savory snack. The aroma of the spices and beans as they fry will fill your home with warmth.
Akara is meant to be enjoyed with others, so call a friend, gather your family, and dig in. Making the bean cakes is rewarding in itself, allowing you to connect with tradition and create something wonderful to share. And the best part is, you now have the power to make this delicacy anytime the craving strikes.