
Alright, let’s talk about what you’ll need to get your DIY greenhouse project off the ground. This is where you can really get creative and save some cash. Think about what you already have lying around or what you can find for cheap. There are tons of homemade plant shelter ideas out there, and many of them rely on repurposing items.
Repurposing Old Windows And Lumber
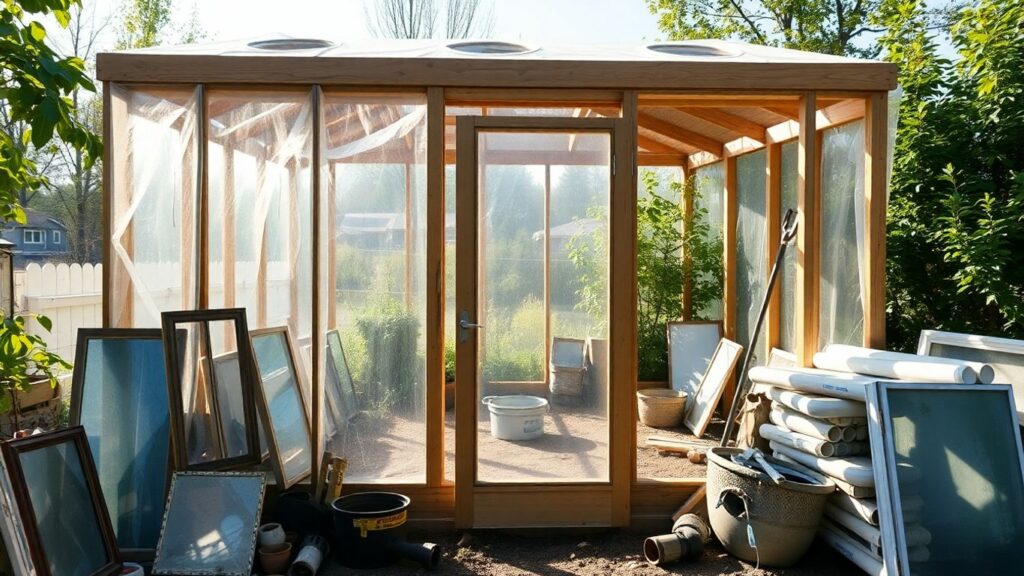
Old windows are fantastic for greenhouse walls. They let in light, and if you can find ones that are roughly the same size, it makes construction much simpler. You can often score these for free from friends, family, or online marketplaces like Facebook or Craigslist. Just be careful when handling them, as older glass can be a bit fragile.
For the frame, salvaged lumber is your best friend. Look for sturdy pieces that aren’t too rotted. Treated lumber is a good choice, especially for any parts that will be close to the ground, to help prevent rot. You might need to do a bit of cleaning and sanding, but using reclaimed wood gives your greenhouse character and keeps costs way down.
Affordable Alternatives For Greenhouse Walls
If old windows aren’t your thing or you can’t find enough of them, don’t worry. There are other budget-friendly options for your greenhouse walls. Heavy-duty plastic sheeting, such as that used for construction or agricultural purposes, is a very common and inexpensive choice. You’ll want to make sure it’s UV-resistant so it doesn’t break down too quickly in the sun.
Another option is polycarbonate panels. While they might cost a bit more upfront than plastic sheeting, they are much more durable and offer better insulation. You can often find these in smaller sizes or as offcuts from larger projects. For a smaller, temporary structure, even thick painter’s plastic can work in a pinch, though it won’t last as long.
Here’s a quick look at some common material choices:
| Material | Pros | Cons |
|---|---|---|
| Old Windows | Free/cheap, good light, character | Fragile, can be heavy, inconsistent sizes |
| Lumber (Salvaged) | Cheap/free, sturdy, customizable | May need treatment, potential rot |
| Plastic Sheeting | Very cheap, lightweight, easy to use | Less durable, can tear, poor insulation |
| Polycarbonate | Durable, good light, better insulation | Higher initial cost |
Designing And Constructing Your DIY Greenhouse
Alright, let’s get down to the nitty-gritty of actually building your budget-friendly garden structure. This is where those inexpensive backyard greenhouse plans start to take shape. You’ve gathered your materials, maybe you’ve got some old windows and lumber, or perhaps you’re going with PVC pipes and plastic sheeting. Whatever you’ve chosen, the next step is to put it all together and create your low-cost growing space.
Building The Framework With PVC Or Wood
This is the skeleton of your greenhouse. If you’re using wood, consider treated lumber to help it last longer outdoors. You’ll want to cut your pieces according to your plans and then assemble them. For a simple rectangular structure, you’ll be building walls and a roof frame. If you’re going the PVC route, it’s a bit like adult LEGOs.
You cut the pipes to size and use fittings to connect them. This can be really quick and makes for a lightweight frame. You’ll want to make sure it’s sturdy enough to hold up your walls and roof, especially if you live in an area with wind or snow.
Here’s a basic idea of what you might need for a simple frame:
| Material | Purpose |
|---|---|
| Wood Studs/PVC Pipes | Main structural supports |
| Screws/PVC Cement | To join pieces together |
| Brackets/Fittings | For added stability and connections |
Incorporating Doors And Ventilation
Don’t forget about getting in and out, and letting the air move! A door is pretty obvious, but ventilation is super important. You don’t want your greenhouse to turn into a sauna on a sunny day. You can build a simple door frame and cover it with the same material as your walls, or even use a screen door if you have one.
For ventilation, consider windows that open, or even just leaving a gap at the top of your walls and covering it with mesh. Some people add vents that can be opened and closed manually. If you’re feeling fancy, you could even look into automatic vents that open when it gets too hot. Good airflow helps prevent diseases and keeps your plants happy.
Consider these points for ventilation:
- Placement: Where will your vents or doors be? Ideally, you want airflow going through the whole structure.
- Size: How big do the openings need to be? This depends on the size of your greenhouse.
- Control: How will you open and close them? The manual is cheapest, but the automatic can be convenient.
- Protection: Using screens on openings will keep pests out while still allowing air in.
Customizing Your DIY Greenhouse
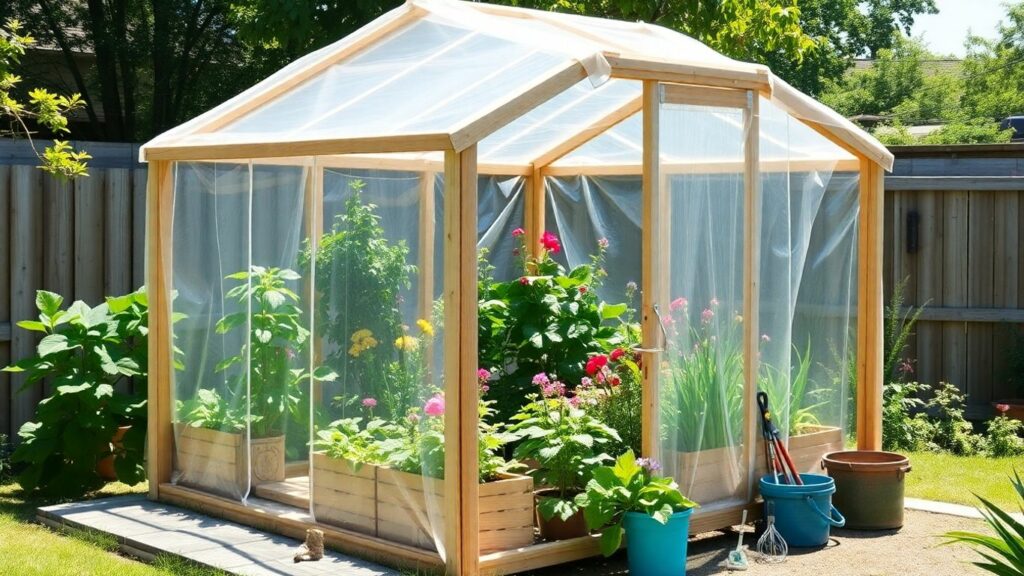
Now that you’ve got the basic structure up for your affordable gardening enclosure, it’s time to make it truly yours. Customizing your greenhouse means tailoring it to your specific needs and making it a more functional space. Think about how you’ll actually use it day-to-day.
Adding Shelving And Storage Solutions
Shelving is probably the first thing you’ll want to add. It gets plants off the floor and makes better use of vertical space. You can build simple shelves from scrap lumber, or even repurpose old bookcases if they’re sturdy enough and you can treat them for moisture. Consider adjustable shelves if you think your plant needs might change over time. Don’t forget about hooks for hanging tools like trowels, pruners, and watering cans. A small workbench or potting table is also a great addition for repotting and seed starting.
- Materials: Wood scraps, screws, brackets, hooks.
- Placement: Along walls, consider tiered shelving for maximum space.
- Function: Organize tools, hold seed trays, provide workspace.
Ensuring Proper Air Circulation And Climate Control
This is super important for keeping your plants healthy. Stagnant air can lead to mould and disease. You’ve probably already thought about vents or doors, but let’s get more specific. Automatic vent openers are a game-changer; they open and close based on temperature, so you don’t have to constantly monitor it.
A small fan, even a simple oscillating one, can really help move air around. If you live in a really humid area, you might even look into a small dehumidifier, though usually opening things up is enough.
For heating, you can use passive methods, such as dark-coloured water barrels that absorb sunlight during the day and release heat at night. Just remember: the goal is to keep the air moving and the temperature stable, not too hot, not too cold.
Discussion about this post