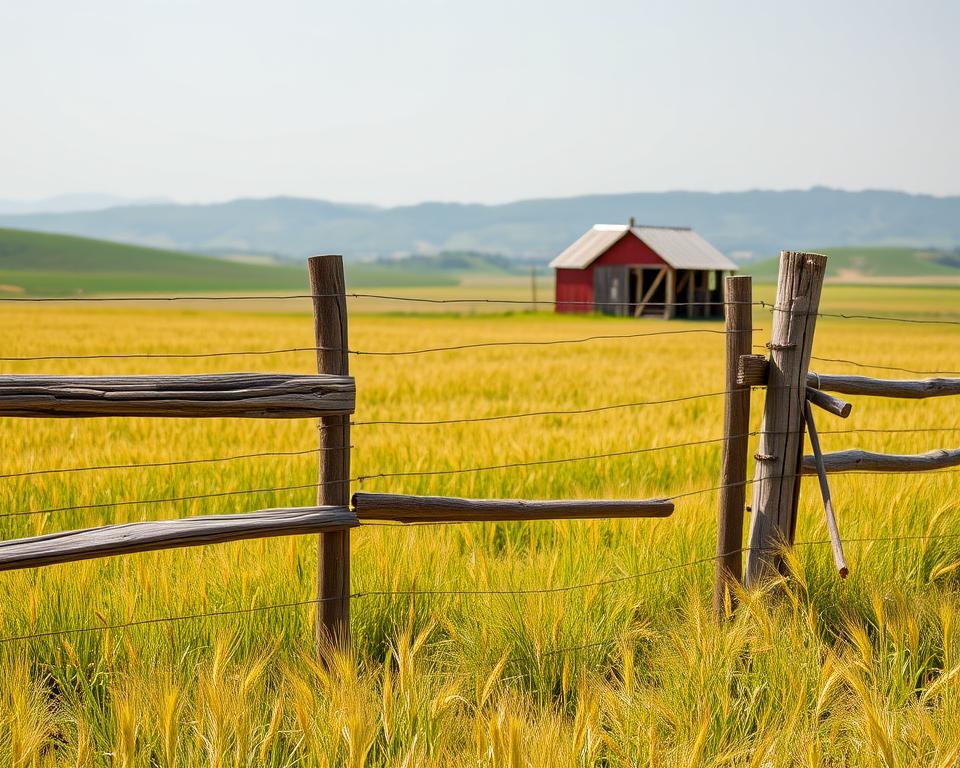
As a farmer, you know how vital it is to protect your land and animals. Good fencing does more than keep things in; it also keeps things out. It also keeps pests out and protects your crops.
There are many affordable fencing options for farms. You can pick from electric, woven wire, barbed wire, or pallet fencing. These choices are both durable and budget-friendly, perfect for farmers looking to save money.
Investigating DIY farm fencing can help you find the best balance of price and quality. This way, your farm stays safe and productive without incurring excessive costs.
Farm Fencing Needs and Requirements
To make your farm fencing project work, you must know what your farm needs. This means taking a few important steps. These steps help you plan a fencing solution that lasts and doesn’t break the bank.
Using Property Maps and Surveys
Begin by reviewing property maps and surveys. They show your farm’s layout and boundaries. This helps you figure out where you need fencing, saving you from wasting resources.
Marking Fence Lines
After you know your farm’s layout, mark the fence lines. Use stakes and flags, or other markers, to determine the location of the fence. This is key for planning the fence’s path and making any needed changes before you start.
Think about the type of livestock you’re fencing in. Different animals need different kinds of fencing. For instance, sheep need less strong fencing than cattle or horses. Knowing this helps you pick the right materials and design.
Predator Protection Requirements
If you have predators like coyotes or wolves, your fencing must be stronger. Select materials and designs that deter predators.
| Livestock Type | Fencing Requirements | Predator Protection Level |
|---|---|---|
| Sheep | Low to Moderate | Moderate |
| Cattle | Moderate to High | High |
| Horses | High | High |
By carefully assessing your farm’s fencing needs, you can create a strong and lasting fencing solution. Consider your property’s boundaries, the type of livestock you have, and how to protect against predators.
Planning Your DIY Fencing Project
Planning is key in any DIY fencing project. You need to decide on gate placement and corner braces for a strong fence.
Identifying Gate Locations
Choosing the right spots for gates is vital. Gates are more than just entrances and exits. They also impact how well your farm operates and how easily you can navigate it.
Think about these things when picking gate spots:
- Main paths for animals and tools
- How close to roads or paths they are
- The way traffic moves around the farm
Planning for Corner Braces
Corner braces are key for a fence’s strength. They add support and stop the fence from falling.
| Corner Brace Type | Description | Best Use |
|---|---|---|
| Wooden Braces | Traditional and cost-effective | Small to medium-sized farms |
| Metal Braces | Durable and resistant to rot | Large farms or areas with high winds |
With good planning, your DIY fencing project will feature sturdy gates and the correct corner braces. This ensures a fence that lasts and meets your farm’s needs.
Essential Tools for DIY Fence Installation
The success of your DIY fencing project depends on the tools you choose. You’ll need the right equipment for a smooth installation.
Post Hole Diggers and Tampers
Post hole diggers are key for making holes for your fence posts. You can pick from manual or motorized diggers, each with benefits. Tampers help pack the soil around the posts, making them stable.
- Manual post hole diggers are budget-friendly and good for small jobs.
- Motorized post hole diggers are better for big projects, saving time and effort.
Fencing Pliers and Wire Stretchers
Fencing pliers are handy for gripping, bending, and cutting wire. Wire stretchers are vital for tightening wire fencing correctly.
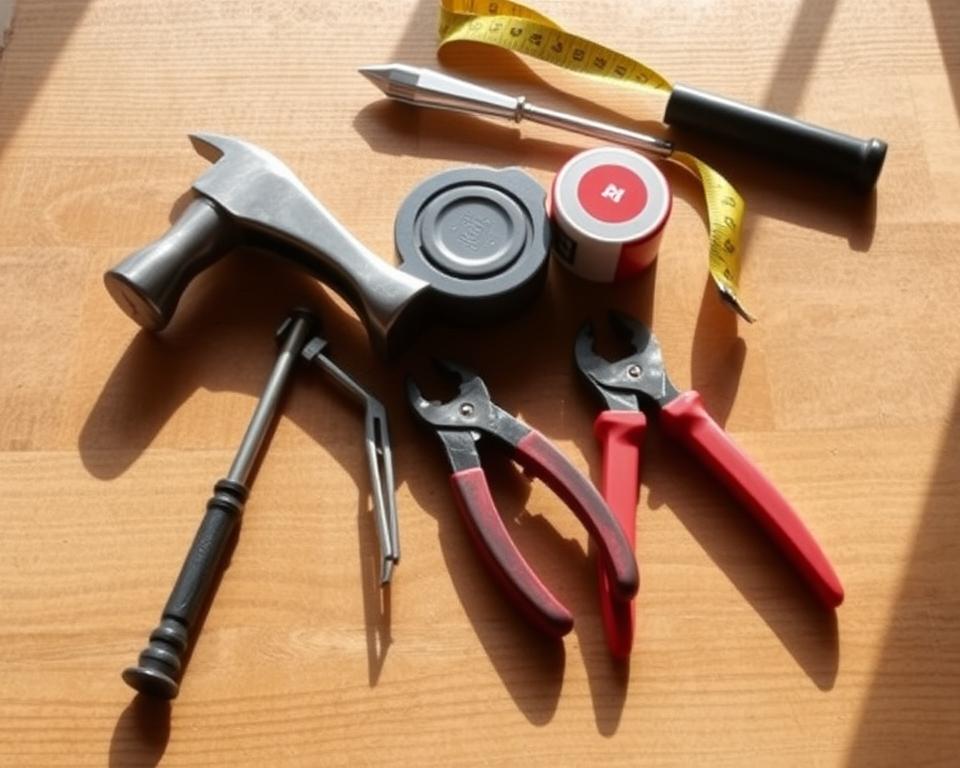
Using the right tools, such as post hole diggers, tampers, fencing pliers, and wire stretchers, will enhance your DIY fence project. It will be more efficient and effective.
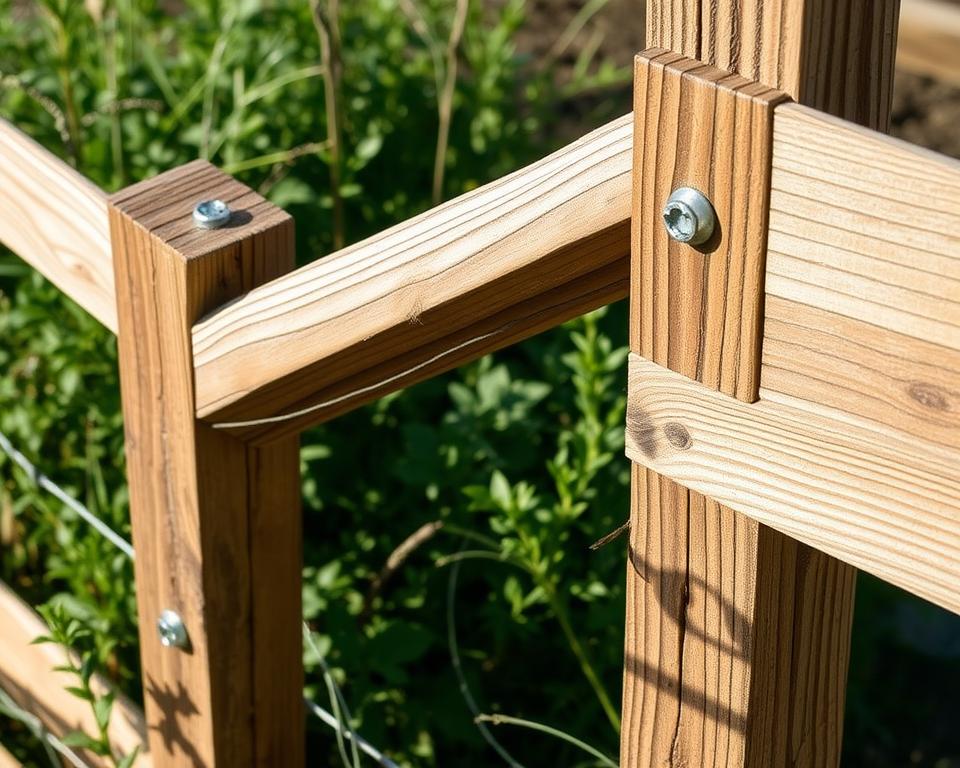
Cost-Effective Wooden Fence Options
Choosing the right wooden fence for your farm is important. You need something durable, easy to maintain, and affordable. It should also complement your farm’s style.
Pressure-Treated vs. Cedar Options
There are two main types of wooden fencing: pressure-treated wood and cedar. Pressure-treated wood is resistant to rot and insects. However, it may contain chemicals that some farmers are concerned about.
Cedar fencing naturally repels rot and insects while looking great. It costs more than pressure-treated wood but lasts longer, saving money in the long run.
Cedar
| Fencing Type | Durability | Maintenance | Cost |
|---|---|---|---|
| Pressure-Treated Wood | High | Low | Moderate |
| High | Low | High |
Installation Techniques
Installing your fence right is key for it to last and work well. Begin by setting corner posts firmly. Then, use a string line to guide the rest of the posts.
For a DIY wooden fence project, dig holes deep enough for the posts. This keeps them stable. Fill the holes with concrete to stop the posts from moving.
By picking the right wood and installing it correctly, you can make a strong and beautiful fence for your farm.
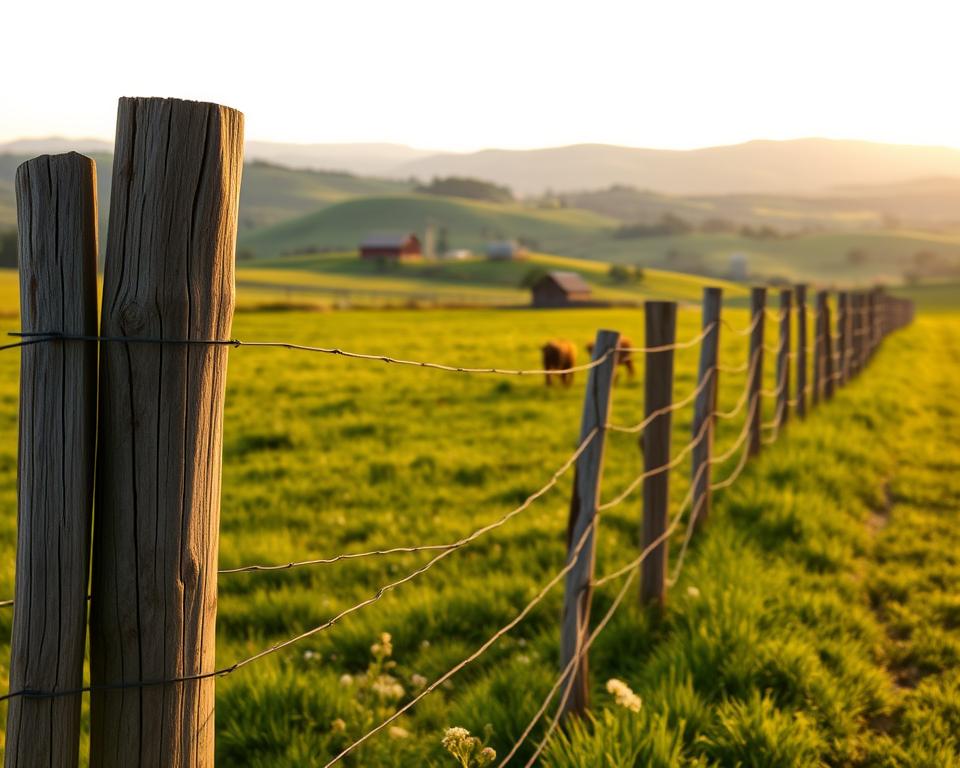
Wire Fencing Solutions for Farms
Wire fencing is a smart choice for farms. It helps manage livestock and mark land boundaries. It’s durable and affordable, making it a top pick for farmers.
Field Fence Installation
Setting up a field fence needs careful planning. First, decide on the fence line and mark it with stakes and flags.
High-tensile wire and barbed wire are common types of wire. High-tensile wire is strong and lasts long.
Proper Tensioning Techniques
Getting the tension right is key for wire fencing. Too little tension makes the wire sag, while too much can break the posts. Use a special tool to achieve the perfect fit.
| Fencing Material | Durability | Cost |
|---|---|---|
| High-Tensile Wire | High | Moderate |
| Barbed Wire | Medium | Low |
| Woven Wire | High | High |
Electric Fencing for Livestock Control
Electric fencing is a great way to manage livestock. It acts as a mental barrier, stopping animals from crossing. This keeps them in their place.
Setting up an electric fence needs two key parts: grounding systems and insulator selection.
Grounding Systems
A good grounding system is vital for an electric fence to work safely. It uses grounding rods to send the electrical charge into the earth. This ensures the fence works effectively without posing a danger to people or animals.
To get the best grounding, do the following:
- Use galvanized or copper-clad grounding rods.
- Install at least three grounding rods, spaced 10 feet apart.
- Ensure the grounding system is regularly inspected.
Insulator Selection
Insulators are crucial for maintaining the functionality of your electric fence. They prevent the electrical charge from reaching the fence posts. This keeps the charge on the wire.
Choose insulators based on the material (like plastic or porcelain). Ensure they fit your fence and the local weather conditions.
Step-by-Step DIY Fencing Installation Guide
To install a DIY fence, follow this step-by-step guide. It’s tailored to your needs. This guide covers the key parts of fence installation. It helps you create a strong and effective barrier for your farm.
Digging Proper Post Holes
The first step is digging post holes. Use a post hole digger or an auger. Make holes that are one-third the height of the fence post. Ensure the holes are deep enough and spaced correctly for adequate support.
For a standard fence, holes should be 12 inches in diameter. They should be 8 feet apart. Digging these holes carefully is important for the fence’s stability.
After digging, mix and pour concrete to secure the fence posts. Follow the manufacturer’s instructions for mixing the product. Pour the concrete into the hole, leaving about 6 inches at the top.
Use a level to check if the post is vertical. Then, fill the rest of the hole with soil and compact it. This step is key for a solid fence foundation.
Building vs. Buying Gates
Decide whether to build or buy gates. Building a gate lets you customize it, but you need carpentry skills. Buying a pre-made gate saves time and ensures quality, but might need adjustments.
Consider your skills, budget, and the gate’s intended purpose. Building a gate can be a rewarding and personal touch to your fence.
Budget-Friendly DIY Fencing Alternatives
If you’re looking for affordable fencing options, consider these DIY alternatives. Creating your own fence can be a cost-effective solution for your farm.
Sourcing and Preparing Pallets
One innovative way to fence your farm is by using pallets. You can find pallets from local businesses or online. To prepare them, disassemble the pallets, clean the wood, and remove any nails or debris.
Another budget-friendly option is to create living fences or hedgerows. This involves planting shrubs or trees along the boundary of your farm. Living fences provide a natural barrier and enhance biodiversity.
They can also be more aesthetically pleasing than traditional fencing.
To implement living fences, select plants that are suited to your climate and soil type. Regular maintenance, like pruning, will keep your living fence healthy and effective.
Reinforcing and Weatherproofing Your Fence
To keep your DIY farm fence strong, you need to reinforce and weatherproof it. Regular care, such as staining or sealing, is crucial. It helps your fence last longer, even in tough weather conditions.
Reinforcing means checking for weak spots and fixing damaged areas. Inspect your fence for loose boards or broken wires. Addressing these problems early can prevent more significant issues later.
Stains vs. Sealants
For weatherproofing, you can choose between stains and sealants. Stains make your fence look good and protect it too. Sealants, though, offer better protection against moisture and UV rays.
- Stains keep your fence looking nice.
- Sealants provide better protection against harsh weather conditions.
Winter Preparation
Preparing your fence for winter is essential. Here’s how:
- Remove debris to avoid ice and snow damage.
- Put on a protective coat to stop moisture harm.
- Check for weak spots that winter weather might make worse.
By reinforcing and weatherproofing your fence, it stays strong. It will continue to work well throughout the year.
Troubleshooting Common DIY Fencing Problems
Troubleshooting is key in any DIY fencing project. It helps keep your fence strong and working well. Knowing common problems can help you fix them fast.
Dealing with uneven terrain is a big challenge. You can use the step-down or contour methods. The step-down method adjusts fence post heights to match the land’s slope. The contour method cuts and fits the fencing to the contours of the terrain.
Step-Down vs. Contour Methods
Choosing between step-down and contour methods depends on your project’s needs. The step-down method is easier, but it may not be suitable for all materials or terrain.
Another issue is damaged or rotten fence posts. Replacing them is vital for your fence’s strength. To replace them, dig out the old post and ensure the new one is well-anchored.
Being prepared to address these common DIY fencing problems ensures your fence remains strong and effective.
Cost Comparison: DIY vs. Professional Fence Installation
Choosing between DIY and professional fence installation is a big decision for farm fencing. The cost comparison between these options can significantly impact your budget and the fence’s lifespan.
DIY fence installation can save on labor costs. However, you must also consider the cost of materials and tools, as well as your time and skills. Professional installation might last longer, saving money in the long run.
Return on Investment for Different Materials
The ROI for fencing materials differs. For example, high-quality wooden fences cost more upfront but last longer, giving a better ROI over time.
| Fencing Material | Initial Cost | Longevity | ROI |
|---|---|---|---|
| Wood | $3,000 | 15-20 years | High |
| Wire | $2,000 | 10-15 years | Medium |
| Electric | $1,500 | 5-10 years | Low |
Whether to DIY or hire a pro depends on your needs, budget, and fencing material. By looking at the cost comparison and ROI, you can choose the best option for your farm.
Future-Proofing Your Farm Fence Investment
When you finish your DIY fence projects, think about making your farm fence last longer. Picking the right materials and design is key. It makes your fence strong and flexible.
Choosing durable materials, such as top-notch wood or strong wire fencing, makes your fence last longer. Additionally, designing it to be flexible allows you to adjust it as your farm evolves.
A well-thought-out and cared-for fence protects your farm’s assets and helps it succeed in the long run. A future-proofed fence keeps your livestock and property safe. It also increases the value of your farm.
To make your farm fence last, focus on building one that works well and is tough. With good planning and care, your farm will be safe and productive for many years.
Discussion about this post