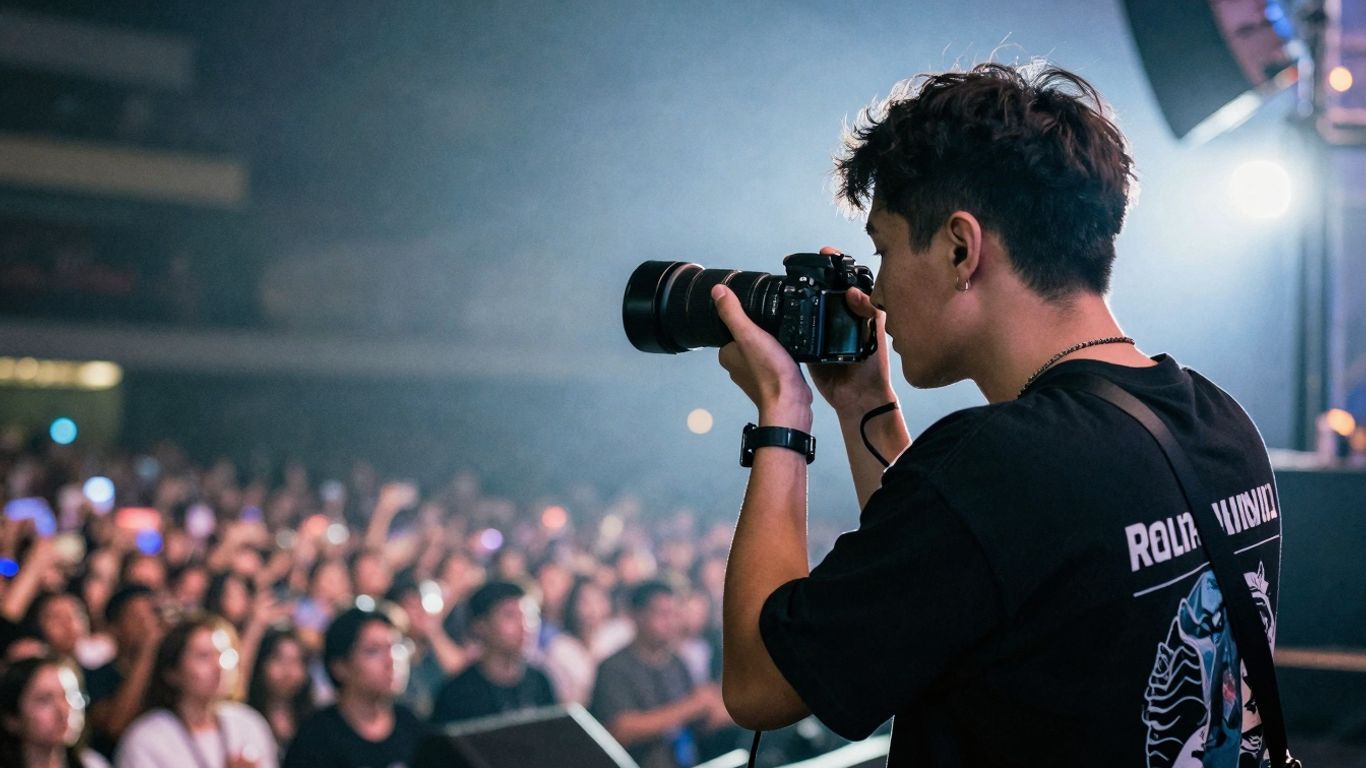
Photographing concerts can be super exciting, but let’s be real, the lighting is usually pretty rough. Most places don’t let you use a flash, which means you’ve gotta get smart with your camera. This guide is all about figuring out the right concert photography settings so you can get awesome shots, even in the dark.
We’ll cover which gear helps, how to tweak your camera settings, and some tricks to make your photos pop.
Key Takeaways
- Using a fast lens with a wide aperture, like f/1.8 or f/2.8, lets in more light, which is a big deal in dim venues.
- Shooting in Manual mode gives you full control over your exposure, but Aperture Priority can be a good starting point if you’re new to this.
- You’ll likely need to bump up your ISO to get brighter shots, but be ready to manage any extra grain or noise later.
- Always shoot in RAW format. This gives you way more flexibility to fix colors and exposure when you’re editing your photos.
- Patience is key. Wait for those brighter moments on stage and try to anticipate when the action will be best for a photo.
Mastering Concert Photography Settings In Low Light
Shooting concerts can be a real challenge, especially when the lights are dim, and you can’t use your flash. It’s a situation where you really have to know your camera to get decent shots. The lighting changes constantly, from dark stages to sudden bright spotlights, and your camera needs to keep up. This is where understanding your basic low light concert camera settings becomes super important if you want to have any chance of achieving good concert photos in dim light.
Understanding The Challenges Of Concert Lighting
Concert lighting is, well, dramatic. It’s designed for the audience’s experience, not for photographers. You’ll see deep shadows, blinding spotlights, and colors that can make your camera’s white balance go haywire.
These rapid shifts mean your camera’s auto settings often get confused, leading to underexposed or overexposed shots. You’re basically fighting against the environment to capture a clear image.
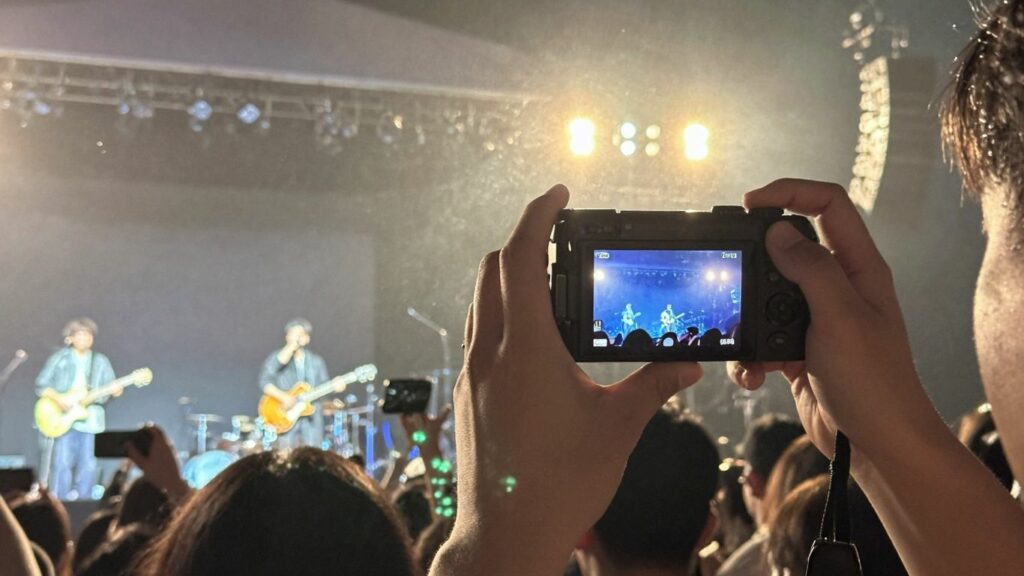
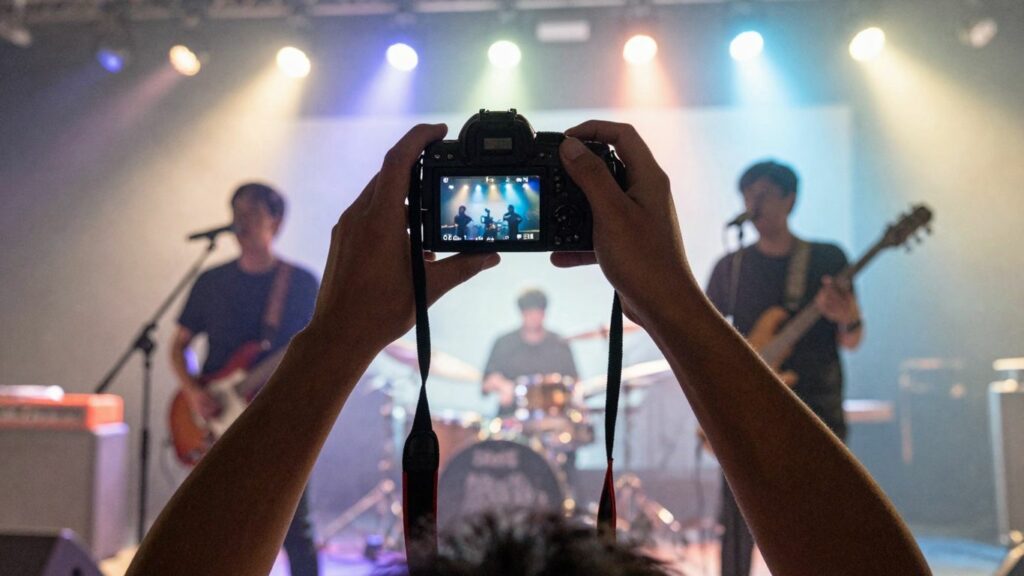
Why Flash Is Not An Option
Most venues ban flash photography, and for good reason. A flash can ruin the mood lighting the artists and lighting designers worked hard to create. It also creates harsh, flat images and can be distracting to performers and other audience members. So, you’re left to work with the available light, which means adjusting your camera settings to compensate.
Essential Gear For Low-Light Concerts
While gear isn’t everything, some items make a big difference when you’re shooting in the dark.
- A Fast Lens: This is probably the most important piece of equipment. A “fast” lens has a wide maximum aperture (think f/1.4, f/1.8, or f/2.8). This lets in a lot more light, which is exactly what you need when it’s dark. Even an affordable 50mm f/1.8 prime lens can be a game-changer.
- A Camera That Handles High ISO: Not all cameras are created equal when it comes to shooting in low light. Newer or higher-end cameras often have better sensors that can produce cleaner images at higher ISO settings.
- Extra Batteries: Shooting in low light often means longer exposures or higher ISOs, which can drain your battery faster. Always have spares.
- Earplugs: Seriously, protect your hearing. Concerts are loud, and earplugs are a must-have for any concert photographer.
Optimizing Your Camera For Concert Photography Settings
Getting the right shot in a concert venue means your camera needs to be set up just right. It’s not just about pointing and shooting; you’ve got to tweak settings to handle dim lighting and fast action. Let’s talk about the best camera settings for live music and how to get your gear ready.
The Importance Of A Fast Lens
When you’re shooting in low light, the most important piece of gear you can have is a fast lens. What does ‘fast’ mean here? It means the lens can open up to a really wide aperture.
Think f/1.4, f/1.8, or f/2.8. A wider aperture lets more light hit your camera’s sensor, which is exactly what you need when the stage lights are dim. While professional zoom lenses like a 24-70mm f/2.8 or 70-200mm f/2.8 are popular, they can cost a lot. If you’re on a tighter budget, a prime lens, like a 50mm f/1.8 or 85mm f/1.8, is a fantastic alternative. You lose the zoom, but you gain a lot of light-gathering ability for a fraction of the price.
Shooting Wide Open: Mastering Aperture
Once you have that fast lens, the next step is to use it to its full potential. This usually means shooting at its widest aperture – the smallest f-number your lens offers. You’ll want to set your camera to Aperture Priority mode or Manual mode for this. Shooting wide open lets in the most light. The trade-off is a shallower depth of field, meaning only a small slice of your image will be in sharp focus.
This can be tricky, but it’s often necessary to get a usable exposure. If the lighting is surprisingly good, you might be able to stop down the aperture a bit to get more in focus, but usually, you’ll be at the widest setting possible.
Balancing Shutter Speed For Action And Light
Shutter speed is where things get interesting in concert photography. You need it fast enough to freeze the action on stage – bands move, singers jump, drummers hit hard. A shutter speed of 1/250th of a second or faster is a good starting point to avoid blurry shots. However, in very low light, a faster shutter speed lets in less light, potentially making your image too dark.
This is where you have to find a balance. If the band isn’t moving much, you might get away with a slightly slower shutter speed. But if they’re energetic, you’ll need to keep it quick. This often means you’ll have to compensate by increasing your ISO, which we’ll cover next.
Here’s a quick look at how these settings interact:
| Setting | Effect on Light | Effect on Action | Trade-off in Low Light |
|---|---|---|---|
| Wide Aperture | Lets in More | Minimal | Shallow Depth of Field |
| Fast Shutter | Lets in Less | Freezes Action | Darker Image |
| High ISO | Boosts Signal | Minimal | Increased Noise |
Leveraging ISO For Brighter Concert Images
So, you’re at a concert, the lights are dim, and your photos are coming out too dark. What’s the next move? It’s time to talk about ISO. Think of ISO as your camera’s sensitivity to light. The higher the number, the more sensitive your camera is, meaning it can capture more light in darker situations. This is exactly what we need for concert photography.
Understanding ISO Sensitivity
Basically, a lower ISO setting means your camera needs more light to get a good exposure. This is great for bright, sunny days where you want to avoid overexposing your shots. But in a concert venue? You’re usually starved for light. So, you’ll want to increase your ISO. This makes the camera’s sensor more receptive to the limited light available, allowing you to get a usable exposure without needing a super long shutter speed, which could lead to blurry shots.
Finding The Sweet Spot For High ISO
When you start pushing your ISO higher, you’ll notice something: grain, or digital noise. It’s like the tiny speckles you see in old film photos, but in digital form. Most modern cameras can handle pretty high ISOs these days without looking like a mess.
A good starting point for concert photography is often ISO 1600 or 3200. If your images are still too dark, don’t be afraid to bump it up to 6400 or even higher, depending on your camera’s capabilities. The key is to find that balance. A little bit of grain is almost always better than a completely blurry photo where you can’t even see the performer.
Here’s a general idea of what to expect:
| ISO Setting | Light Sensitivity | Typical Use Case |
|---|---|---|
| 100-400 | Low | Bright daylight, controlled studio lighting |
| 800-1600 | Medium | Indoor events, overcast days, early evening |
| 3200-6400 | High | Concerts, dimly lit bars, night sports |
| 12800+ | Very High | Extreme low light, specific artistic choices |
Managing Noise In Post-Production
Even when you find that sweet spot, you might still end up with some noise in your images. Don’t panic! This is where post-production software like Adobe Lightroom or Photoshop comes in handy. These programs have tools specifically designed to reduce digital noise. You can dial down the graininess, making your photos look cleaner and more professional.
It’s amazing what a few simple sliders can do. So, while you want to get the best possible shot in-camera, know that you can clean it up later. It’s all about getting that shot, even if it means a little digital cleanup afterwards.
Choosing The Right Shooting Mode
Figuring out the best camera mode for concert photography in low light can feel like a puzzle. You’ve got dim stages, fast action, and you can’t use a flash. So, what’s the best way to get those shots without everything turning out blurry or too dark?
Manual Mode: Full Control Over Exposure
For many concert photographers, Manual (M) mode is the go-to. It gives you complete command over your camera’s settings: aperture, shutter speed, and ISO. This is super helpful because concert lighting can change in an instant, and you need to react quickly. You’re not relying on the camera to guess what you want; you’re telling it exactly what to do.
This means you can set your aperture wide open (like f/1.8 or f/2.8) to let in as much light as possible, pick a shutter speed that’s fast enough to freeze most of the action but not so fast that your image becomes too dark, and then adjust your ISO to get the right exposure. It takes practice, but once you get the hang of it, you’ll feel much more in control.
Aperture Priority: A Beginner’s Approach
If Manual mode feels a bit overwhelming right now, Aperture Priority (Av or A) is a solid alternative. In this mode, you set the aperture, and the camera automatically chooses the shutter speed for a correct exposure. This is great because you can focus on getting that wide aperture for low light and let the camera handle the shutter speed.
However, you still need to keep an eye on that shutter speed. If it drops too low, you’ll get motion blur. For concerts, you’ll want to make sure the shutter speed is at least 1/100th of a second, maybe even faster if the performers are moving a lot. You might also need to adjust your ISO manually to compensate if the camera is choosing a shutter speed that’s too slow for the light conditions.
Here’s a quick look at when you might lean towards each:
| Mode | Pros |
|---|---|
| Manual (M) | Full control, consistent results, best for tricky lighting. |
| Aperture Priority | Easier to manage, lets you control depth of field and light intake. |
When To Use Other Modes
While Manual and Aperture Priority are usually the stars of the show for concert photography, other modes can have their place, though less often. Program Auto (P) mode is like a step up from full Auto, where the camera picks both aperture and shutter speed, but you can often adjust ISO and other settings. It’s generally not recommended for serious concert work because you lose too much control.
Shutter Priority (Tv or S) lets you set the shutter speed while the camera picks the aperture. This could be useful if freezing action is your absolute top priority, but in low light, the camera might choose a very small aperture, making the image too dark. For most low-light concert situations, sticking with Manual or Aperture Priority will give you the best results and the most creative freedom.
Advanced Techniques For Concert Photography Settings
So, you’ve got the basics down – you know why flash is a no-go, and you’re comfortable with your aperture, shutter speed, and ISO. That’s great! But to really step up your game in shooting concerts without a flash, there are a few more tricks up your sleeve. These techniques can make the difference between a decent shot and a truly memorable one.
The Power Of Shooting In RAW
If your camera lets you, always, always shoot in RAW. Forget JPEGs for concert gigs. Why? Because RAW files are like a digital negative. They capture way more information than a compressed JPEG, especially when it comes to light and color. Concert lighting is notoriously wild – think sudden shifts from deep blues to fiery reds, often flickering.
A RAW file gives you so much more room to play in post-production. You can adjust white balance without turning the singer into a Smurf, recover details in blown-out highlights, or pull detail out of deep shadows. It’s the difference between a photo you can fix and one you can’t.
Strategic Positioning For Better Light
This might sound obvious, but where you stand matters. A lot. You’re not just a spectator; you’re trying to find the best light. Sometimes this means moving a few feet to the left or right, or finding a slightly elevated spot if possible. Watch where the stage lights are hitting. Are they creating harsh shadows on the artist’s face? Can you find an angle where the light is more even?
This is especially true for smaller venues where the lighting might be less sophisticated. Don’t be afraid to subtly shift your position to catch a more flattering light. It’s not about being in the way; it’s about finding that sweet spot.
Focusing In Dim Conditions
This is where things get tricky. Autofocus systems can struggle in low-light conditions. Here’s what you can do:
- Use the brightest part: Aim your focus point at the brightest part of your subject, such as a shiny guitar or a bright costume detail. The autofocus is more likely to lock on there.
- Manual Focus Assist: If your camera has it, use manual focus assist features. This might involve focus peaking (highlighting in-focus areas) or magnification to zoom in and manually nail focus.
- Pre-focus: If you know where the artist will be standing for a particular shot, you can sometimes pre-focus on that spot and wait for them to move into it. This takes practice, but it can be a lifesaver.
- Focus on contrast: Look for areas of high contrast in your subject – like the edge of a microphone or a sharp line on clothing – to help your autofocus lock onto a target. This is a key part of manual mode concert photography when autofocus fails you.
Patience And Timing In Concert Photography
Waiting For The Perfect Moment
When you first get the chance to shoot a concert, it’s easy to feel like you need to fire off a million shots the second the band hits the stage. You might feel this pressure, especially with only a few songs to get good pictures. But honestly, sometimes it’s just too dark to get anything usable. Instead of just blasting away, take a breath.
Use those really dark moments to your advantage. You can use this time to find a better spot to stand or just quickly check your camera settings to see if they’re working. It’s better to wait for those bursts of bright light to get your best shots. Trying to shoot constantly when the light is bad often just means a lot of editing later for photos that aren’t great.
Observing Light Changes
Concert lighting is a whole different beast. It’s not static; it changes all the time. You’ll see spotlights swing, colors shift, and sometimes there are moments of near darkness followed by intense brightness.
Paying attention to these changes is key. Watch how the lights move across the stage and how they hit the performers. Sometimes, a performer might move into a patch of light just for a second. If you’re watching and anticipating, you’ll be ready to press the shutter at that exact moment. It’s about being present and observing what’s happening visually, not just blindly shooting.
Anticipating Key Actions
Beyond just the light, think about what the performers are doing. Are they about to jump? Is the singer about to lean into the mic? Is there a guitar solo coming up? These are the moments that make a concert photo exciting. If you know the band or have seen them play before, you might have an idea of their typical stage antics.
Even if you don’t, you can still watch their body language. A performer looking directly into the camera is a great moment to capture. It takes practice, but learning to anticipate these actions will help you get those standout shots that tell a story, rather than just a picture of someone on stage.
Discussion about this post