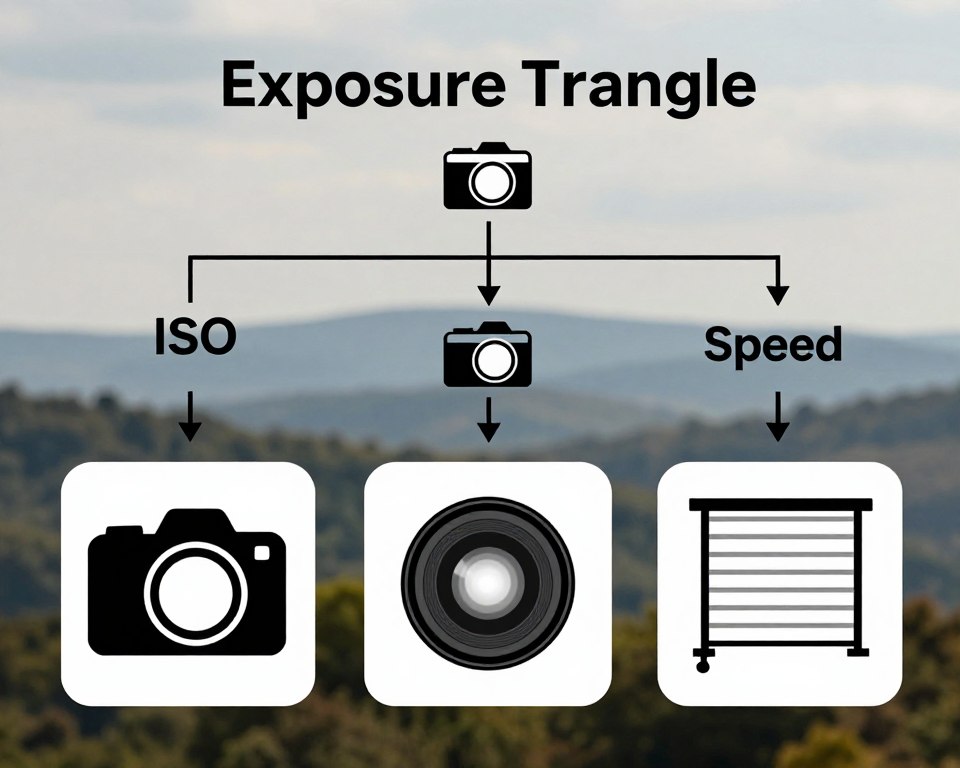
Learning the basics of photography is key to taking great photos. The exposure triangle is at the core of photography. It includes ISO, aperture, and shutter speed.
These three parts work together to achieve the right exposure in different lighting conditions. Knowing the exposure triangle well is vital for photographers. It lets them control their work and show their creative side.
When you understand ISO, aperture, and shutter speed, you can change your camera settings. This makes sure your photos are bright and look good.
Key Takeaways
- Understanding the exposure triangle is fundamental to photography.
- ISO, aperture, and shutter speed work together to achieve correct exposure.
- Mastering these elements allows for greater creative control.
- Adjusting camera settings based on lighting conditions is important.
- Proper exposure enhances the quality of photographs.
The Basics of Photography Exposure
Exposure in photography refers to how much light reaches the camera’s sensor. It’s key to getting great photos. The exposure triangle, with ISO, aperture, and shutter speed, helps control this light.
Knowing the basics of photography, like exposure, is essential. It lets you take photos that are just right, not too bright or dark. The exposure triangle helps you adjust to different lighting, making it a must-know in photography.
To get the hang of exposure, you need to know how ISO, aperture, and shutter speed work together. ISO affects how sensitive the camera is to light. Aperture controls the depth of field by changing the lens opening. Shutter speed captures motion by adjusting how long the camera is open.
By balancing these three, you can get a photo that’s perfectly exposed. It’s about finding the right mix for the scene and what you want to show. This balance is why knowing the basics of photography exposure is so important.
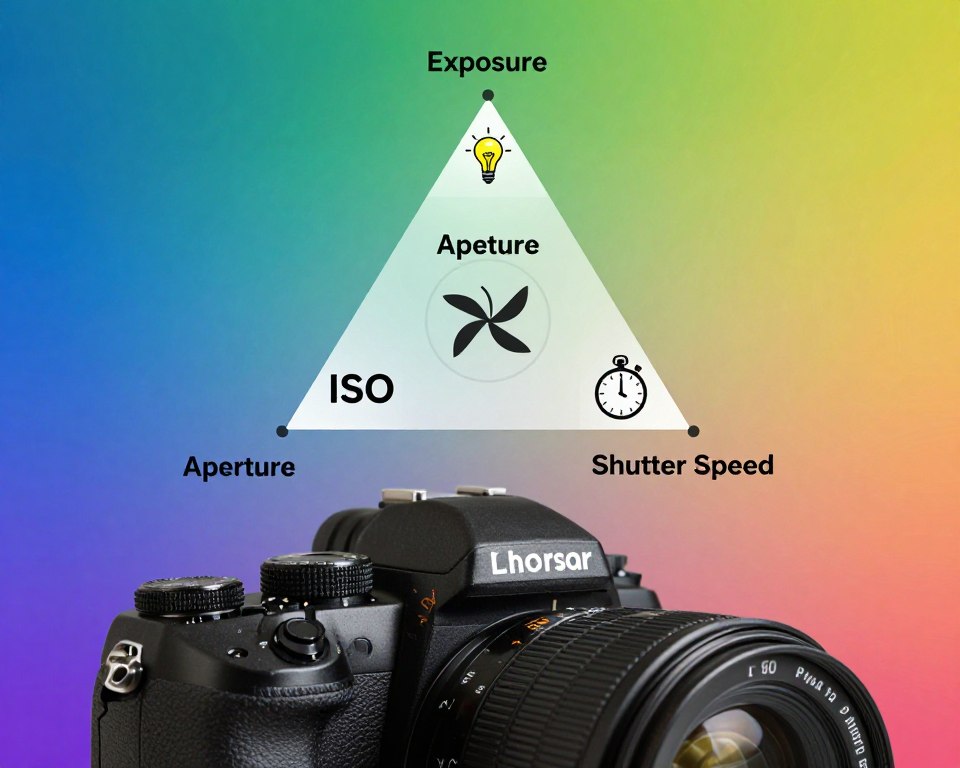
What is the Exposure Triangle?
The exposure triangle consists of ISO, aperture, and shutter speed. It’s the base of all photos, deciding how light or dark they are.
These three parts work together to set an image’s exposure. ISO is a measure of how sensitive the camera is to light. A lower ISO means it’s less sensitive, while a higher ISO makes it more sensitive.
Aperture controls how much light gets into the lens. It’s measured in f-stops, like f/2.8 or f/16. Smaller f-stops mean bigger apertures, letting in more light.
Shutter speed is the length of time the camera’s shutter is open. Faster speeds freeze motion, while slower speeds blur it.
Changing one part of the exposure triangle changes the others. For example, raising the ISO lets you use faster shutter speeds or smaller apertures. Understanding how these parts work together is essential to achieving the right exposure in your photos.
It’s important to balance the exposure triangle for the right look in your photos. By adjusting ISO, aperture, and shutter speed together, you can control the mood of your images. This is true for everything from bright landscapes to deep, moody portraits.
ISO: Controlling Light Sensitivity
In photography, ISO is about how sensitive your camera is to light. It’s key for getting the right shot, no matter the light.
ISO values range from ISO 100 to ISO 6400 and more. Low ISOs, like ISO 100, are best for bright days. They make photos look clear with little noise. High ISOs, like ISO 6400, are for low-light situations, but they can introduce some noise.
Choosing the right ISO depends on where you’re shooting. For indoor or nighttime shots, you’ll need a higher ISO. But remember, ISO works with aperture and shutter speed to get the look you want.
Image Noise and ISO
When you adjust ISO, think about image noise. High ISOs can make photos look grainy. Image noise gets worse in the dark. To fix it, use the lowest ISO you can or try noise reduction later.
Knowing how ISO, aperture, and shutter speed work together is basic photography. It helps you take great photos in all light conditions. By mastering ISO, you can capture everything from bright to dark scenes.
In short, ISO is a powerful tool in photography. It lets you control how much light your camera gets. By learning to use ISO well, you can take better photos in any light.
Aperture: Managing Depth of Field
Understanding aperture is key to mastering the exposure triangle. It controls the light and focus area in a photo. Aperture is the lens opening that lets light into the camera.
Aperture is measured in f-stops like f/2.8, f/4, f/5.6. A smaller f-stop value means a bigger opening, letting in more light. This results in a shallower depth of field. A larger f-stop value means less light and a deeper depth of field.
The aperture setting affects the depth of field. This is the area in the image that looks sharp. A shallow depth of field focuses on a small part of the image, while a deep depth of field focuses on more.
- A large aperture (small f-stop number) results in a shallow depth of field, ideal for portraits where the subject should stand out.
- A small aperture (large f-stop number) results in a deep depth of field, suitable for landscapes where a broad area needs to be in focus.
Mastering aperture is key to getting the effect you want in your photos. By adjusting the aperture, you control the amount of light and the depth of field. This gives you more creative control over your images.
When using aperture to manage depth of field, remember:
- The larger the aperture, the shallower the depth of field.
- The smaller the aperture, the deeper the depth of field.
- Aperture settings can significantly impact the overall exposure and aesthetic of your photograph.
In conclusion, aperture is a powerful tool in photography. It lets you manage the depth of field and exposure of an image. By learning to use aperture well, you can improve your photography skills and get the results you want in your photos.
Shutter Speed: Capturing Motion
Understanding shutter speed is key for photographers. It affects how motion is captured and the image’s look. Shutter speed is the time the camera’s shutter is open, measured in seconds or fractions of a second.
Faster shutter speeds freeze fast motion. They’re great for sports, wildlife, and action shots. Slower speeds create a blur effect, showing movement in images.
The right shutter speed depends on the type of photography and the desired look. For sharp moving subjects, use a fast shutter speed. For artistic blur, like water or clouds, go slow.
Avoiding Camera Shake
Slower shutter speeds can cause camera shake. To prevent this, use a tripod or image stabilization. These tools keep the camera steady, resulting in sharp, clear images.
Mastering shutter speed lets photographers capture motion in a new way. It adds depth and emotion to their photos.
Balancing the Exposure Triangle in Different Scenarios
Different photography scenarios need a balanced approach to the exposure triangle for the best results. Photographers must adjust ISO, aperture, and shutter speed based on the scene.
In bright conditions, a lower ISO and faster shutter speed are often needed. In low light, a higher ISO and slower shutter speed are required.
Landscape Photography Settings
Landscape photography requires a small aperture (a high f-stop number) to achieve a large depth of field. This keeps the whole scene in focus.
- Use a low ISO (100-400) for the best image quality.
- A small aperture (f/8-f/11) for maximum depth of field.
- A tripod helps stabilize the camera for slower shutter speeds.
Portrait photography usually involves a large aperture (low f-stop number) for a shallow depth of field. This isolates the subject from the background.
- Use a moderate ISO (400-800) to balance image quality and lighting.
- A large aperture (f/1.4-f/2.8) to create a shallow depth of field.
- Watch the shutter speed to avoid camera shake or blur.
Understanding and adjusting the exposure triangle for different scenarios greatly improves photography skills.
Common Exposure Problems and Solutions
Understanding the exposure triangle is key to avoiding common photography problems. Photographers often encounter issues such as overexposure and underexposure. These problems can greatly affect the quality of their images.
Overexposure occurs when too much light reaches the camera’s sensor, resulting in an overly bright image. To fix this, photographers can lower the ISO, use a higher f-stop number, or increase the shutter speed.
Underexposure occurs when insufficient light is captured, resulting in an image that is too dark. To solve this, photographers can increase the ISO, use a lower f-stop, or slow the shutter speed.
| Exposure Problem | Solution | Adjustment |
|---|---|---|
| Overexposure | Reduce light intake | Lower ISO, Higher f-stop, Faster shutter speed |
| Underexposure | Increase light intake | Higher ISO, Lower f-stop, Slower shutter speed |
By mastering the exposure triangle, photographers can manage common exposure problems well. For example, in bright conditions, a lower ISO and faster shutter speed can prevent overexposure. In low-light conditions, a higher ISO and wider aperture can help avoid underexposure.
Practicing with different scenarios helps photographers learn to adjust the exposure triangle. This skill is essential for capturing high-quality images under a wide range of lighting conditions.
Camera Modes and the Exposure Triangle
Knowing your camera modes is key to using the exposure triangle well. The exposure triangle, with ISO, aperture, and shutter speed, is photography’s base. Each camera mode gives different control over these elements.
Manual, Aperture Priority, Shutter Priority, and Program Mode let you tweak the exposure triangle. Manual mode gives you full control. You can change ISO, aperture, and shutter speed as you like.
The perks of manual mode are:
- Full control over the exposure triangle
- Ability to adjust settings based on the scene
- Enhanced creative control
Other modes, like Aperture Priority and Shutter Priority, offer a mix of control and ease. They let you set one thing while the camera changes the others. Knowing these modes is vital for mastering the exposure triangle and getting the shot you want.
By getting the hang of camera modes and the exposure triangle, photographers can improve their skills. They can get the right exposure and creative effects in their photos.
Practical Exercises to Master the Exposure Triangle
The exposure triangle is key in photography, made up of ISO, aperture, and shutter speed. To get better, practicing with these elements is essential. You need to adjust them in different situations.
Begin by shooting in various lighting. Try it in bright sunlight, indoors, and at dusk. This will teach you how to tweak the exposure triangle for each setting. Understanding ISO, aperture, and shutter speed is vital for great photos in any light.
Here’s a simple exercise to boost your skills:
| Scenario | ISO | Aperture | Shutter Speed |
|---|---|---|---|
| Bright Sunlight | 100 | f/8 | 1/500s |
| Indoor Lighting | 800 | f/2.8 | 1/125s |
| Dusk | 400 | f/4 | 1/250s |
By trying out different settings, you’ll learn how ISO, aperture, and shutter speed work together. This hands-on approach is key to mastering the basics of photography. It will also enhance your overall photography skills.
Discussion about this post