Adding a dimmer switch to your home can make it feel cozier and more energy-efficient. These switches let you change the light levels, making any room perfect for any occasion.
Installing a dimmer switch is easy if you have some basic DIY skills. Just remember to follow safety rules and know the steps to take.
With a dimmer switch, you’ll save energy and make your bulbs last longer. This guide will help you install it safely and fast.
Dimmer Switches and Their Benefits
Dimmer switches let you control the light levels in your home. They help you adjust the brightness for any occasion. This makes your home feel just right for any moment.
These switches work with many bulb types, like LED, CFL, and halogen. But, they must be rated for those bulbs. This makes them easy to add to your home without changing bulbs.
Dimmer switches have many benefits. They improve the feel of a room and save energy. Here are some main advantages:
- Energy Efficiency: Adjusting the light saves energy, which is great for LED and CFL bulbs.
- Extended Bulb Life: Dimming can make your bulbs last longer by easing the stress on the filament.
- Ambiance Control: They let you set the mood for any activity or event.
- Flexibility: They fit with many lighting setups, making them versatile for any room.
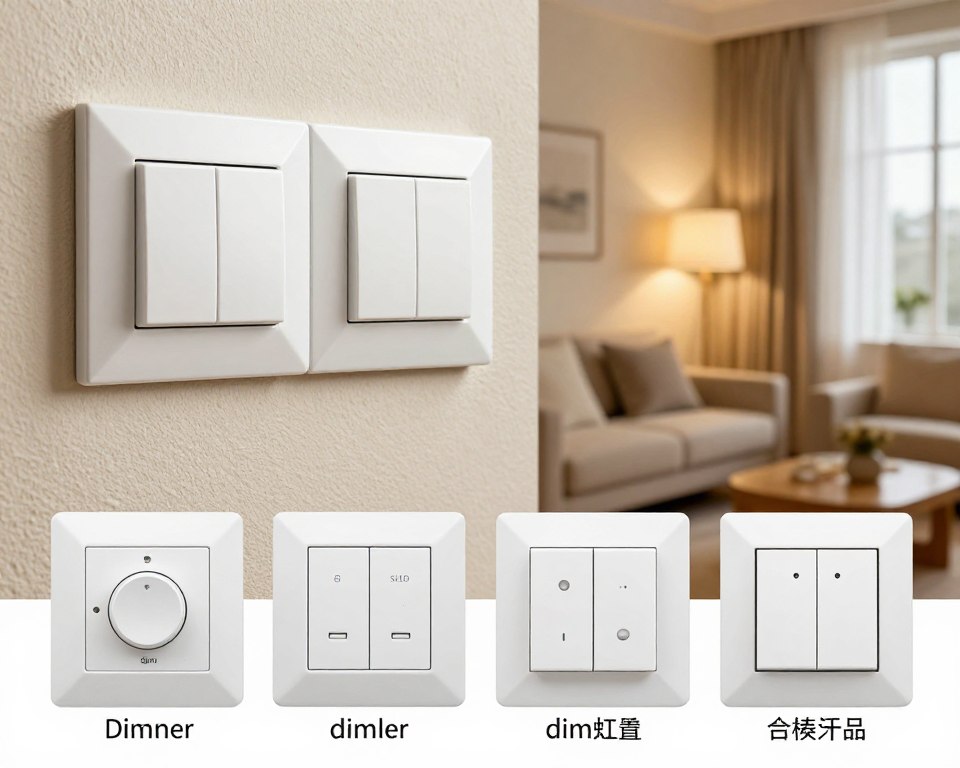
When you’re thinking about installing a dimmer switch, know the different types. There are rotary, slide, and touch dimmers. Each has its own features and how you interact with it. Pick the one that fits your style and needs.
It’s key to check if your dimmer switch matches your bulbs. This ensures it works well and safely in your home.
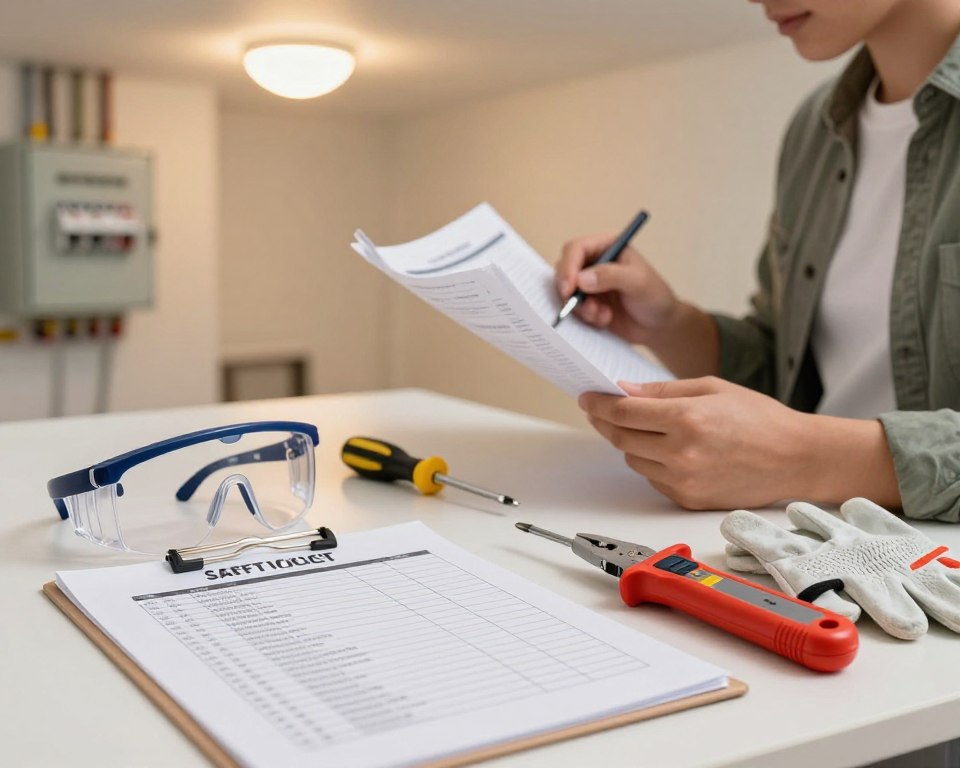
Safety Precautions Before You Begin
Before starting your DIY dimmer switch project, it’s vital to take safety steps. Electrical work can be dangerous if not done right. Always put safety first.
First, switch off the power supply to the circuit you’ll work on. Do this at the breaker panel or fuse box. Turning off the light switch isn’t enough; you must cut power at the source.
Then, check that the power is off with a voltage tester. This step is key to keeping you safe while working on the electrical circuit. There are many voltage testers, including non-contact ones that detect voltage without touching wires.
- Ensure the area is well-lit and clear of any obstructions.
- Use insulated tools to prevent electrical shock.
- Avoid wearing loose jewelry or clothing that could get caught in tools.
- Keep children and pets away from the work area.
By following these safety tips, you can reduce risks in your DIY dimmer switch project. Remember, safety is the most important thing when working with electrical systems.
Tools and Materials Needed to Install a Dimmer Switch
Before you start installing a dimmer switch, make sure you have all the tools and materials ready. Having everything you need will make the job easier and faster.
The tools you’ll need include:
- A screwdriver (preferably a Phillips head screwdriver)
- A wire stripper for stripping the insulation from the ends of the wires
- A voltage tester to ensure there’s no electricity flowing to the switch
- Wire nuts for connecting the wires
You’ll also need the following materials:
- A dimmer switch that is compatible with your lighting system
- Wire connectors for secure connections
- Electrical tape for insulating any exposed wires
It’s a good idea to have a manual or guide for your dimmer switch model. Different models have different installation needs. Having all the tools and materials ready will help you finish the job quickly and safely.
Being prepared with the right tools and materials lets you focus on the installation. This way, you can ensure it’s done right and efficiently.
Types of Dimmer Switches and Compatibility
It’s important to know the different types of dimmer switches and what bulbs they work with. Dimmer switches aren’t all the same. They’re made for specific lighting setups and bulb types.
There are mainly two types: single-pole and three-way dimmers. Single-pole dimmers control lights from one spot. Three-way dimmers let you control lights from two spots. Pick the right one based on your home’s lighting needs.
Dimmer switches must match the bulb type they’re meant for. For example, dimmers for incandescent bulbs might not work with LEDs. LEDs need special dimmers because of their unique electrical needs.
Dimmer Switch Compatibility with Different Bulb Types
| Bulb Type | Dimmer Switch Requirement | Notes |
|---|---|---|
| Incandescent | Standard Dimmer | Works with most traditional dimmers |
| LED | LED-compatible Dimmer | Requires a dimmer that is specially designed for LEDs |
| Halogen | Standard or Special Dimmer | Some halogen bulbs work with standard dimmers, while others need special dimmers |
To make sure your dimmer switch compatibility is right, check the packaging or the manufacturer’s instructions. Some dimmers are called “universal” or “compatible with LED and incandescent.” These are good for homes with different lighting types.
When installing a dimmable light switch, think about the total wattage of the bulbs it will control. Using a dimmer switch for too many bulbs can cause problems or be unsafe. Always stick to the manufacturer’s guidelines for the maximum wattage.
In short, picking the right dimmer switch type and making sure it works with your bulbs is key for a good dimmable lighting setup. Knowing about the different types of dimmer switches and their compatibility helps you control your lighting better and save energy at home.
Preparing for Installation
Getting ready for a dimmer switch installation is key for a safe and easy DIY job. It’s important to know what to do and set up your workspace right.
The first thing is to turn off the power to the circuit you’re working on. This is a must to avoid getting shocked or hurt. Find your home’s main electrical panel and switch off the breaker or remove the fuse. Make sure the lights are off before you start.
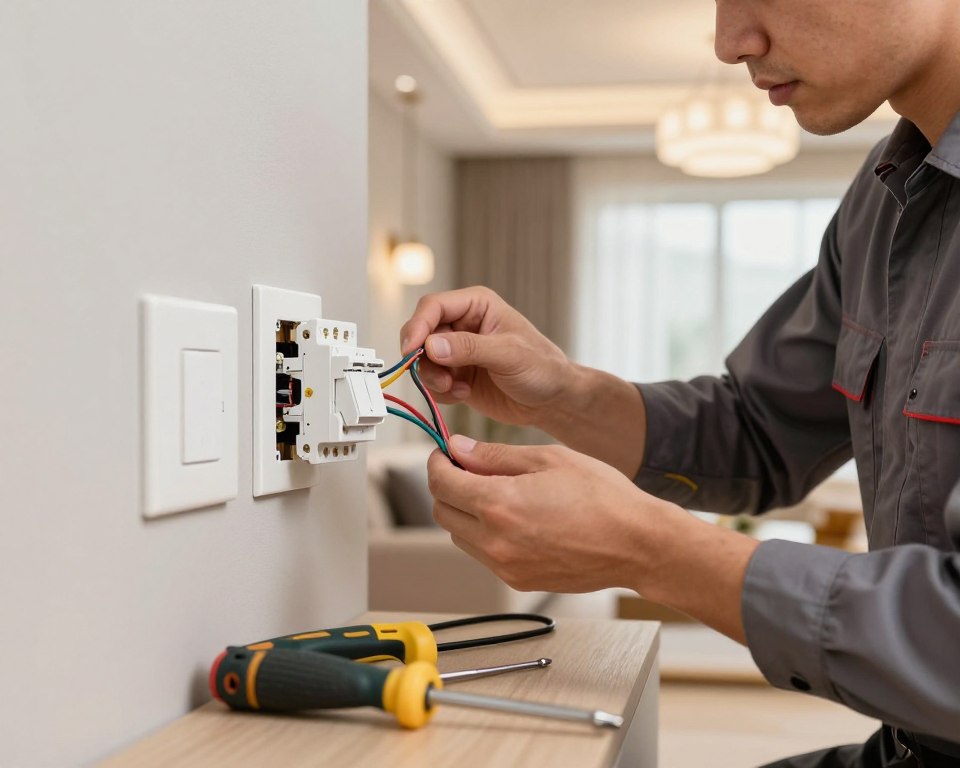
Then, you need to remove the old switch. Start by unscrewing the switch plate, then pull the switch out of the wall. You’ll see wires connected to it. These wires need to be handled with care. Note the wire setup, as it’s key for the new dimmer switch.
- Identify the wires: You’ll usually find a black (hot) wire, a white (neutral) wire, and a copper (ground) wire.
- Disconnect the wires: Loosen the screws holding the wires to the old switch and pull them off gently.
- Prepare the wires for the new dimmer switch: Strip any worn or damaged insulation from the wire ends.
By following these steps, you’ll be ready to install your new dimmer switch. Always check that the power is off and you’ve found the right wires before you start the installation.
Step-by-Step Guide to Install a Dimmer Switch
Installing a dimmer switch is easy with the right guide. This guide will help you through the process. You’ll soon enjoy the benefits of a dimmer switch in your home.
First, turn off the power at your main electrical panel. Make sure the light is off before you start. Use a non-contact voltage tester to check for electricity.
With the power off, remove the faceplate and the old switch. You’ll find three or four wires: a black (hot) wire, a red wire (for 3-way switches), a white (neutral) wire, and a copper (ground) wire.
When wiring your dimmer switch, connecting wires correctly is key. Start by attaching the ground wire to the green terminal. Then, connect the white neutral wire to the neutral terminal.
The black hot wire goes to the “hot” or “line” terminal on the dimmer switch. For 3-way setups, connect the traveler wires (red and black) to their terminals.
Proper Wire Management
Managing wires properly is essential for safe and reliable dimmer switch operation. After wiring, gently tuck the wires into the electrical box. Make sure not to pinch or damage any wires. Secure the dimmer switch with the screws provided.
| Wire Color | Connection | Terminal on Dimmer Switch |
|---|---|---|
| Copper | Ground | Green |
| White | Neutral | Neutral |
| Black | Hot/Line | Hot/Line |
| Red/Black | Traveler (3-way) | Traveler |
After securing the dimmer switch, replace the faceplate and turn the power back on. Test the dimmer switch to make sure it’s working right and dimming smoothly.
By following these steps for a diy dimmer switch installation, you can control your lighting better and enhance your home’s ambiance. If you run into problems, don’t hesitate to call a licensed electrician.
Testing Your Newly Installed Dimmer Switch
After installing your dimmer switch, it’s important to test it. First, turn the power back on at your circuit breaker or fuse box.
With the power on, carefully turn the dimmer switch to its highest setting. Check if the light turns on brightly. Then, dim it to its lowest setting to see if it dims correctly.
If your dimmer switch has special features, like fade-on or fade-off, test those too. It’s also good to check how it works with different light bulbs.
Thoroughly testing your dimmer switch helps find any problems early. This ensures your lighting control works well and safely.
Troubleshooting Common Dimmer Switch Issues
Dimmer switches can have problems like flickering or not dimming. You can fix these issues with a few simple steps. If your dimmer switch isn’t working right, there are ways to fix it.
Flickering lights are a common problem. It might be because of the wrong bulbs or a bad dimmer switch. Try using bulbs that work with your dimmer switch.
Uneven dimming is another issue. It could be because of the bulbs or the dimmer switch. Make sure your bulbs are dimmer-compatible and adjust the dimmer switch settings.
If your dimmer switch doesn’t work at all, check the circuit breaker or fuse box. See if the breaker is tripped or a fuse is blown. Also, make sure the dimmer switch is installed right and all connections are tight.
To troubleshoot more, try resetting the dimmer switch or look at the user manual. If the problem keeps happening, you might need a professional electrician.
By following these steps, you can often fix common dimmer switch problems. This way, you can enjoy smooth and reliable lighting control.
When to Enjoy Your New Lighting Control and When to Call a Professional
Installing a diy dimmer switch can make your home brighter and more comfortable. But, knowing when to ask for help is key.
If you’ve done everything right and feel sure about your work, you can install the dimmer switch yourself. But, if the wiring looks too complicated or you’re not sure what to do, it’s best to call an electrician.
It’s important to know your limits. If you’re not sure or feel uneasy, don’t hesitate to call a professional. They can make sure the job is done right and safely.
By knowing when to ask for help, you can enjoy your new dimmer switch. And, you’ll keep your home’s electrical system safe and working well.
Discussion about this post